

Packing a Mini Backpack for Hiking – Pro Tips
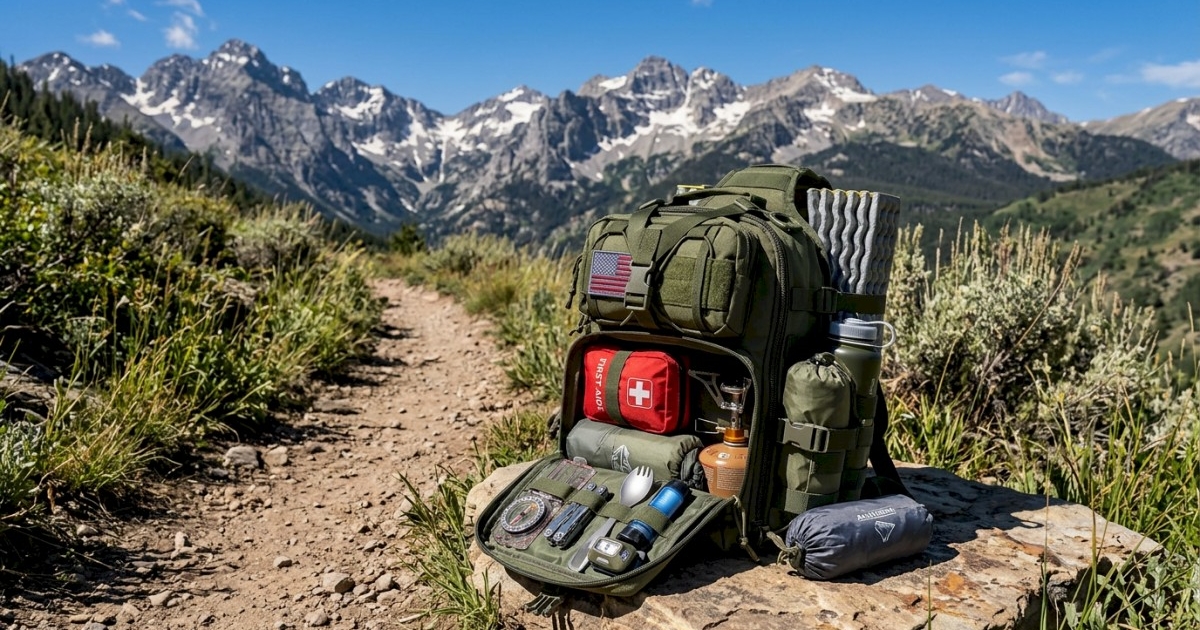
When you reach for a 14‑liter daypack instead of a 35‑liter backpack, you’re not just choosing a smaller bag—you’re committing to a different packing philosophy. A mini backpack forces you to scrutinize every item, weigh its true utility, and decide where it belongs before you even zip the main compartment. That discipline pays off the moment you start climbing, because a well‑balanced, thoughtfully arranged pack feels like an extension of your body rather than a burden dragging you down. In practice, this means smoother steps, less fatigue, and more mental bandwidth to enjoy the scenery.
The goal isn’t to travel light for its own sake; it’s to travel smart. A compact pack that holds the right gear in the right spots can handle everything from sudden rain showers to a 10‑kilometer summit push. Below, we walk through the entire process—from pre‑trip planning to the final zip‑up—so you can feel confident that your mini EDC backpack is optimized for any hike you tackle.
1. Start With a Trail‑Specific Checklist
Before you even touch your bag, write down the specifics of the hike you’ll be doing. Ask yourself:
- Distance: How many miles or kilometers? A 5‑km loop calls for a different water strategy than a 15‑km ridge trek.
- Elevation gain: More ascent often means a need for extra layers and higher calorie snacks.
- Weather forecast: Is there a chance of rain, wind, or temperature swings? Check the high‑low range and note any forecasts for sudden storms.
- Resupply points: Will you pass a stream, a water tap, or a trailhead where you can refill? This determines how much water you must carry.
- Leave‑No‑Trace rules: Some parks restrict certain items like camp stoves or fire starters; knowing the rules prevents wasteful packing.
Write these details on a small piece of paper or a note app. When you later evaluate each piece of gear, you’ll have a concrete reason to keep or discard it. For example, a heavy insulated jacket might be unnecessary on a low‑elevation, summer day, while a lightweight rain shell becomes a must‑have.
2. Prioritize Essentials Over Nice‑to‑Haves
With your checklist in front of you, categorize gear into three buckets:
- Must‑have safety items: Navigation (map, compass, or GPS), a USB rechargeable flashlight, a small first‑aid kit, and a whistle.
- Core comfort items: Hydration, nutrition, and weather‑appropriate clothing.
- Optional extras: Trekking poles, camera, extra snacks, or a lightweight camp stove.
If an item lands in the third bucket, ask yourself if you’ll truly miss it. Often, the answer is “no.” For a day hike under 8 hours, a compact first‑aid kit (think a few band‑aids, antiseptic wipes, and a few pain relievers) is sufficient; you don’t need a full‑size trauma kit.
3. Choose Multi‑Use Gear Whenever Possible
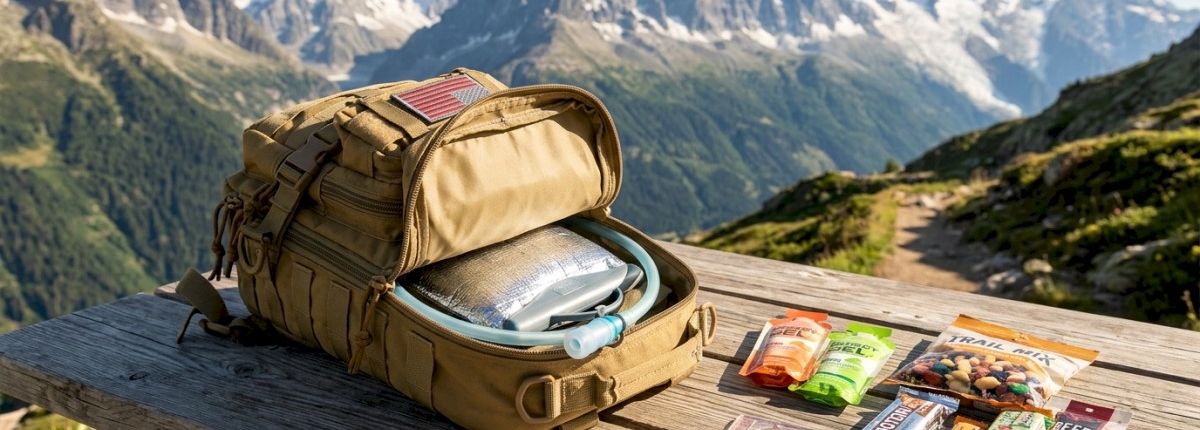
Multi‑purpose items are the secret sauce of mini‑backpack packing. Here are some proven combos:
- Buff or neck gaiter: Works as a sun shield, a face mask in windy conditions, and a makeshift headband.
- Convertible pants: Zip‑off legs turn them into shorts, saving you a separate pair.
- Insulated water bottle: Keeps drinks cool and can double as a rolling “ice pack” for a sore calf.
- Lightweight trekking pole that doubles as a tent pole: Some ultralight poles break down into segments that fit in a pocket.
- Compact emergency blanket that folds into a small pouch: Serves as a ground liner, a reflective signal, or a windbreak.
When you select items, look for the smallest, lightest version that still performs well. A 100‑gram down jacket provides warmth without the bulk of a synthetic layer, and a 60‑gram silicone water bottle slides neatly into a side pocket while still holding 500 ml of fluid.
4. Master the Art of Weight Distribution
Weight placement is critical in a mini pack because you have less room to “tweak” the balance after you’ve zipped everything up. Follow these rules of thumb:
- Heavy items close to your spine: Store your water reservoir, food, and any metal tools (e.g., a small multitool) against the back panel. This aligns the center of gravity with your hips, reducing strain on your shoulders.
- Mid‑pack for medium weight: A lightweight rain jacket or a spare layer can sit in the middle compartment, sandwiched between the hydration system and your outer pockets.
- Light, frequently used items on the outside: Snacks, a map, a headlamp, and a compact sunscreen tube belong in zippered pockets or side pouches for quick grab.
If you’re using a hydration bladder, position the tube so the bite valve rests just above your chest. This prevents the bladder from pulling the bag forward when you bend over.
5. Organize for Speedy Access
Stopping to rummage through a cramped pack can break your rhythm and increase the risk of a slip on technical terrain. Build a simple “grab‑zone” system:
- Top zip pocket: Store your trail map, compass, and a small notebook. These are the first things you’ll check when you hit a junction.
- Side water bottle pocket: Keep a spare bottle here if you’re using a hydration bladder, allowing you to swap out a empty bladder for a fresh one without unpacking everything.
- Front quick‑draw pocket: Ideal for your headlamp, a pair of trekking pole tips, and a few granola bars.
- Bottom zippered compartment: Reserve this for heavier, less‑frequently accessed gear like a spare rain jacket or a small emergency bivy.
Use reusable zip‑tie loops or small elastic bands to bundle similar items—think a “snack bundle” of trail mix, energy gels, and a chocolate bar. Bundling prevents loose items from shifting around and makes it easier to pull the whole group out in one motion.
6. Hydration Strategies That Save Space
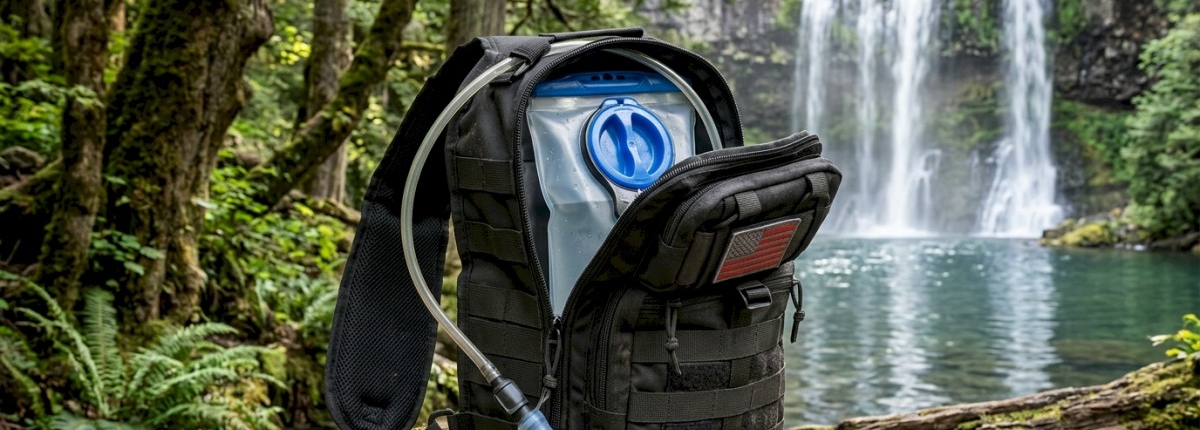
Water is often the single biggest space hog in a mini pack. Here’s how to keep it efficient:
- Calculate exact needs: If the trail is 12 km with one refill point halfway, you might only need 1 liter for the first half and 0.5 liter for the second.
- Choose the right container: A 500 ml soft‑sided bladder folds flat when empty, saving space for other gear. Alternatively, a collapsible silicone bottle can be squeezed flat after you finish drinking.
- Placement matters: Position the bladder low and centered, or keep a 500 ml bottle in a side pocket, ensuring the load stays balanced.
- Plan for emergencies: Carry a small water‑purification tablet or a lightweight filter in case you need to tap an unexpected water source.
By fine‑tuning your hydration plan, you often free up 300‑500 ml of space—room for that extra pair of socks or a compact rain cover.
7. Pack Layers Without Bulking Up
Weather on the trail can flip from sunny to stormy in minutes. The key is to bring compressible, lightweight layers that stack efficiently:
- Base layer: A merino wool or synthetic long‑sleeve shirt (≈150 g) wicks sweat and dries quickly.
- Insulation: A 100‑gram down jacket or a thin fleece that can be stuffed into its own compression sack.
- Shell: A waterproof, breathable rain jacket that packs into a 150 ml stuff sack.
Roll each layer tightly and place them in the order you’ll need them—base layer at the bottom, insulation in the middle, shell on top. This method not only saves space but also lets you grab the outer shell without unrolling the entire bundle if a sudden shower hits.
8. Leave a Little “Breathing Room”
It’s tempting to fill every cubic centimeter of a mini backpack, but a tiny gap (about the size of a water bottle) can be a lifesaver. Here’s why:
- Storing removed layers: When you shed a jacket mid‑hike, you need somewhere to tuck it without cramming it into the main compartment.
- Unexpected finds: A trail may surprise you with a wildflower meadow or a scenic overlook where you want to take a quick photo. Having a free pocket for a small camera or your phone ensures you don’t have to repack.
- Ventilation: A small air pocket prevents your gear from feeling squashed and helps keep moisture from accumulating inside.
If you’re using compression sacks, don’t cinch them completely; leave a small zip open to allow the bag to “breathe.”
9. Pick the Right Small Backpack for Your Needs
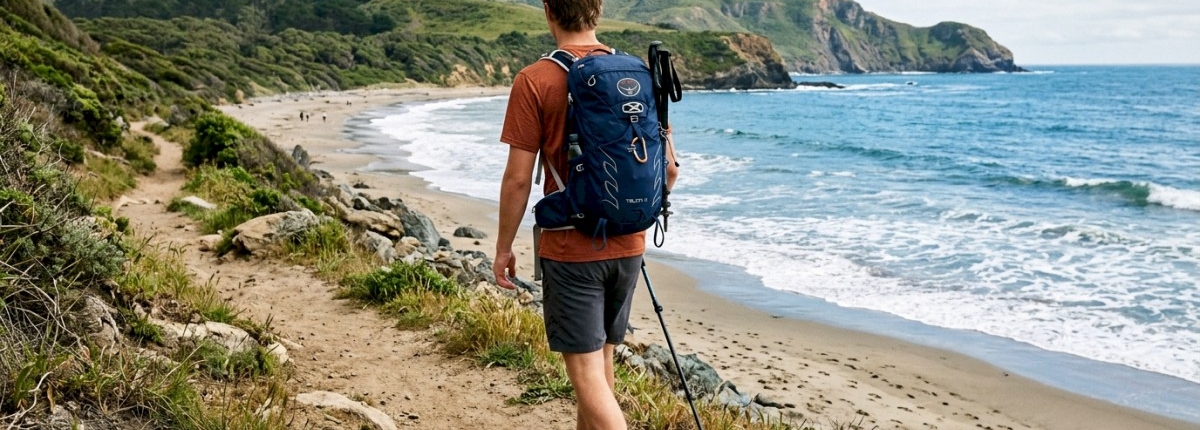
Even the smartest packing strategy can be undone by a poorly designed pack. Look for these features when shopping:
- Internal frame or rigid back panel: Provides structure and keeps heavy items from shifting.
- Multiple compartments: Separate zippered sections for snacks, electronics, and a main compartment for bulkier items.
- Side stretch pockets: Ideal for a collapsible water bottle or a quick‑access rain cover.
- Hydration compatible sleeve: If you prefer a bladder, a dedicated sleeve with an exit port simplifies routing the tube.
- Adjustable sternum and hip straps: Even a small pack benefits from load‑shifting straps that keep the bag snug to your torso.
10. The Final Pack‑Down Routine
Before you head out, run through this quick checklist:
- Close all zippers and straps. Double‑check that external pockets are secured to avoid rattling.
- Feel the weight distribution. The pack should sit evenly on your hips, with the heaviest items near your center of gravity.
- Test accessibility. Simulate pulling out a snack, map, and headlamp. If you have to dig, rearrange.
- Adjust straps. The shoulder straps should sit comfortably on the tops of your shoulders, the sternum strap snug but not restrictive, and the hip belt (if present) low on your hips.
- Do a short walk test. Take a few steps, climb a small hill, and notice any pulling or shifting. Make micro‑adjustments as needed.
By performing this routine, you catch any discomfort before you’re miles from the trailhead, turning a potentially painful trek into a fluid, enjoyable adventure.
11. Real‑World Example: Packing for a 10‑km Mountain Loop
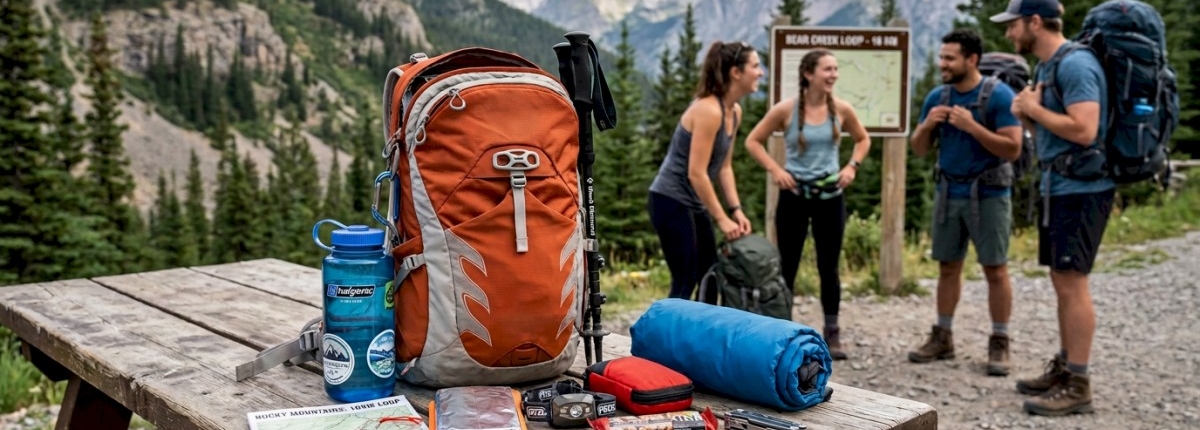
Let’s break down a concrete scenario to illustrate the principles above. Imagine a 10‑km (6 mile) loop with 800 m of elevation gain, moderate spring weather (10‑15 °C), and one water refill point halfway.
- Hydration: 500 ml soft bladder (placed low, centered) + 250 ml collapsible bottle for the refill.
- Food: Two energy bars, 50 g trail mix, and a small chocolate square, all bundled in a zippered snack pocket.
- Clothing: Merino base layer, 100 g down jacket in a compression sack, lightweight rain shell in a 150 ml stuff sack, and a pair of gloves.
- Safety: Small first‑aid kit, whistle, headlamp with spare batteries, and a compact map/compass set in the top pocket.
- Tools: 60 g multitool, a lightweight trekking pole (collapsed) in the bottom compartment, and a micro‑sunscreen tube in the front pocket.
Total weight: Approximately 3.2 kg (including water). The bag feels balanced, with the bladder against the back, the food in the middle, and all quick‑access items within arm’s reach. The pack still has a small free space for an extra pair of socks or a surprise photo‑op.
12. Common Mistakes and How to Avoid Them
| Mistake | Why It Hurts | Fix |
|---|---|---|
| Over‑packing water | Adds unnecessary weight early, reduces room for layers. | Calculate exact water needs, use a collapsible bottle after refills. |
| Putting the rain jacket at the bottom | Makes it hard to reach when the weather turns. | Store the shell in an external side pocket or top compartment for instant access. |
| Neglecting a load‑bearing hip belt | Even a light pack can strain shoulders without hip support. | Choose a pack with an adjustable hip belt, even if you only carry 2–3 kg. |
| Relying on a single large pocket | Leads to a “black hole” where items shift and become hard to find. | Use multiple compartments and zip‑tie bundles to keep things organized. |
| Skipping the test walk | Small imbalances become painful over distance. | Always do a short walk test before leaving home. |
By recognizing these pitfalls early, you can tweak your packing method and avoid the frustration of a chaotic hike.
13. Wrapping Up: Your Mini Backpack, Your Freedom
Packing a small EDC backpack isn’t about sacrificing safety or comfort; it’s about mastering the art of intentional minimalism. When you prioritize essentials, select versatile gear, and mindfully balance weight, you create a pack that moves with you rather than against you. The result is a lighter step, a clearer mind, and more room to savor the trail’s surprises.
Whether you’re a weekend warrior hitting a local ridge or a seasoned trekker venturing into backcountry day‑hikes, the strategies outlined here will help you make the most of every cubic centimeter. So the next time you strap on that 14‑liter pack essential for your day camping trip, you’ll know exactly why each item is there—and where it belongs.
Ready to try it out? Grab a mini backpack, run through the checklist, and hit the trail with confidence. Your feet will thank you, and the mountains will feel a little closer.