

Backpacking Basics: Essential Dos and Don’ts for Beginners
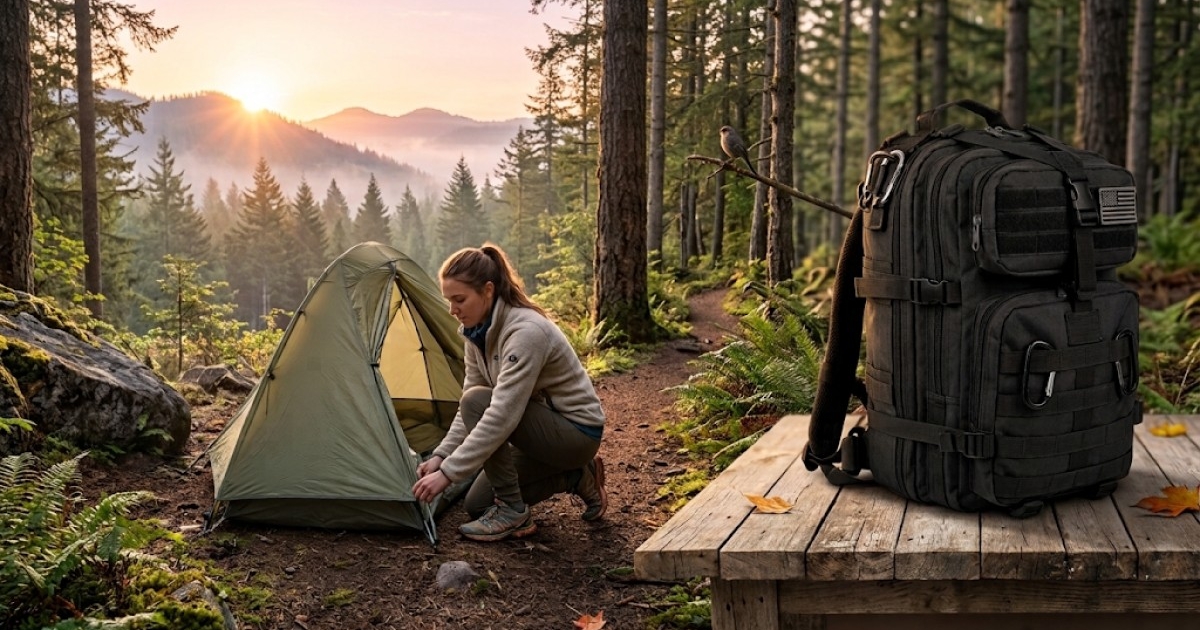
Your backpack is the centerpiece of every overnight trek, and getting the fit right can mean the difference between a comfortable hike and a painful slog. Start by measuring your torso length and hip circumference; most reputable brands offer size charts that match these dimensions. A well‑fitted pack will sit snug against your hips, distributing the majority of the load to your pelvis rather than your shoulders. Look for adjustable shoulder straps, a padded hip belt, and a sternum strap that can be tightened or loosened on the fly.
While you don’t need the most expensive model on the market, avoid the ultra‑lightweight shells that skim on durability. A mid‑range tactical or hiking pack constructed from ripstop nylon or polyester offers a sweet spot of resilience, weather resistance, and comfort. Check that the pack has internal frame options, compression straps, and multiple access points (front zip, side pockets) to keep your gear organized and easy to retrieve while on the move.
Pro tip: Load the pack with a few heavy items (water, food) before the first outing and walk around your house or a local trail. If you feel any pinching or the pack shifts excessively, readjust the straps or consider a different size. Getting this right early saves you from chronic shoulder strain and back pain on longer trips.
Don’t: Skimp on Footwear and Socks
Your feet are the only part of you that stays in constant contact with the trail, so treating them poorly can turn a weekend adventure into a medical emergency. Cheap, ill‑fitted shoes lack the support and protection needed for rugged terrain. Invest in a pair of hiking boots or trail runners that provide adequate ankle support, a sturdy toe box, and a grippy outsole.
Break in your shoes well before the first trip. Wear them on daily walks, during gym sessions, and even around the house for at least a week. This process softens the lining, helps the footbed conform to your arches, and reveals any hot spots that could develop into blisters. Pair the shoes with moisture‑wicking socks made of wool or synthetic blends; avoid cotton, which retains moisture and amplifies friction.
If you’re prone to hot spots, consider adding a thin liner sock underneath a thicker outer sock. This two‑layer system reduces shear and provides an extra barrier against moisture. Don’t forget to bring a small sock‑repair kit (blister patches, moleskin) in your pack—quick fixes can keep you moving when the trail gets unforgiving.
Do: Test All Gear Before You Hit the Trail
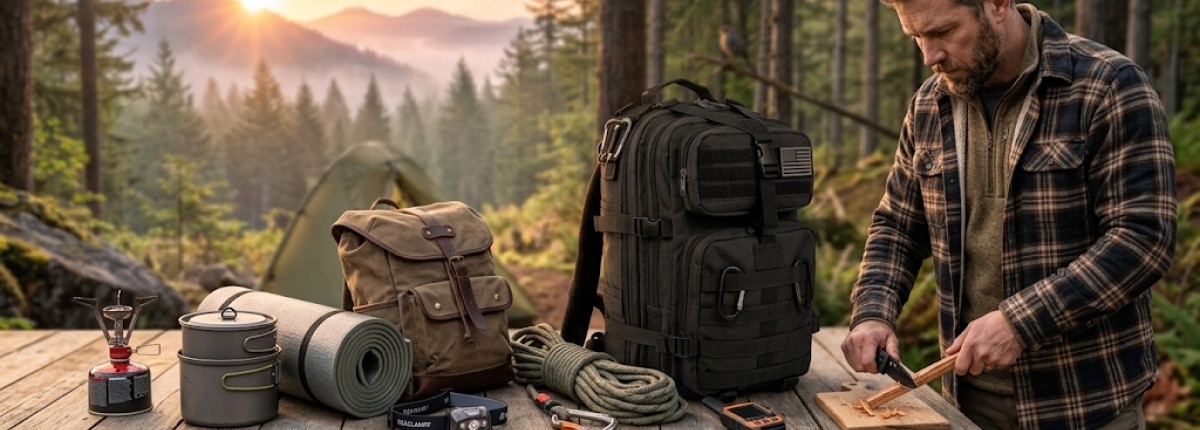
Nothing is more frustrating than a malfunctioning stove or a tangled tent stake when you’re miles from a store. Schedule a “gear day” at home where you set up your entire system exactly as you would in the wilderness. Pitch your tent on a grass lawn or in a garage and practice securing it in windy conditions using a simulated rain cover.
Light a camp stove on a fire‑proof surface, boil water, and make a quick meal. This reveals whether the fuel canister fits, if the windscreen is stable, and how long the ignition takes. Run your water filter through a batch of tap water; check flow rate, cleaning procedures, and the durability of the filter housing.
Testing also includes your navigation tools. Load offline maps onto your phone, check battery life, and make sure the compass on the device calibrates correctly. If you have a separate handheld GPS unit, confirm its waypoints are accurate and that the screen is visible in bright sunlight.
By the time you leave for the backcountry, you’ll have a mental checklist of how each component works, which dramatically reduces the chance of a mid‑trip crisis. Having a camping essentials packing checklist can also help save time a reduce the chance of forgetting important gear.
Don’t: Overpack Every “Just In Case” Item
The temptation to bring a Swiss‑army‑knife‑level assortment of gear is strong, especially for a first‑timer who wants to be prepared for any scenario. However, every extra ounce adds up, and the cumulative effect on fatigue can be dramatic on steep climbs. Before you pack, lay out everything you think you might need on a table.
Ask yourself three questions for each item: Is it essential?, Can I replace it with a lighter alternative?, and Does it serve more than one purpose? Items that fail any of these checks should be either removed or replaced with a multi‑function version. For example, a buff can double as a headband, a face mask, a makeshift towel, and a modesty piece.
Pack a lightweight insulated jacket instead of a bulky coat and opt for a set of zip‑off pants rather than a heavy canvas shirt‑short combo. Remember, you can always resupply at trailheads or on‑trail stores if you’re on a longer trek—carrying a massive emergency stash rarely pays off.
Do: Plan Your Food and Hydration Strategically
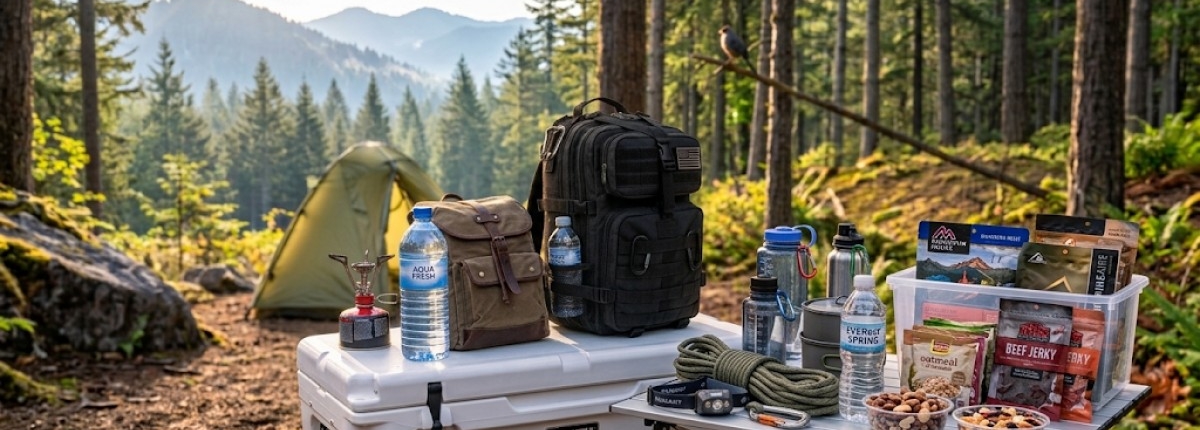
Backpacking is a calorie‑intensive activity; a moderate 8‑hour day can burn 2,500–3,500 calories depending on terrain and pack weight. Focus your menu on high‑density, low‑volume foods that are easy to prepare. Dehydrated meals, instant oatmeal, lean jerky, nuts, and nut‑butter packets provide a balanced mix of carbs, protein, and healthy fats.
When planning meals, consider the “one‑pot” rule: choose dishes that require only a single pot to minimize dishwashing and weight. For example, a rice‑and‑bean bowl with dehydrated vegetables gives a complete meal with a single pot and a lightweight stove.
Hydration is equally critical. Identify water sources on your route using topographic maps or trail guides, and carry a reliable filtration system—either a pump, a squeeze‑filter, or chemical tablets. Always treat water before drinking; even clear mountain streams can harbor Giardia or bacterial contaminants.
A useful rule of thumb is to carry at least 2 liters of water at the start of each day, refilling whenever you pass a safe source. If you’re on a dry high‑altitude trail, consider a larger capacity bladder (3L) or extra water bottles.
Don’t: Rely Solely on Electronics for Navigation
Smartphones and handheld GPS devices are fantastic tools, but they’re vulnerable to dead batteries, software glitches, and lack of signal in deep canyons. The classic map‑and‑compass combo is still the gold standard for backcountry navigation.
Before your trip, study a topographic map of the area and plan what essential survival gear is needed for your adventure. Learn to read contour lines, identify ridgelines, and understand water flow direction. Practice taking a bearing with a compass and transferring it onto the map. Even a basic ability to triangulate your position can save you from a costly detour.
If you do use a phone, download offline maps (e.g., Gaia GPS, AllTrails) ahead of time, and bring a portable power bank or solar charger. Turn off non‑essential apps, and set your screen brightness low to conserve power. Carry spare batteries for any electronic compass or headlamp you bring.
Do: Dress in Layers to Master the Elements
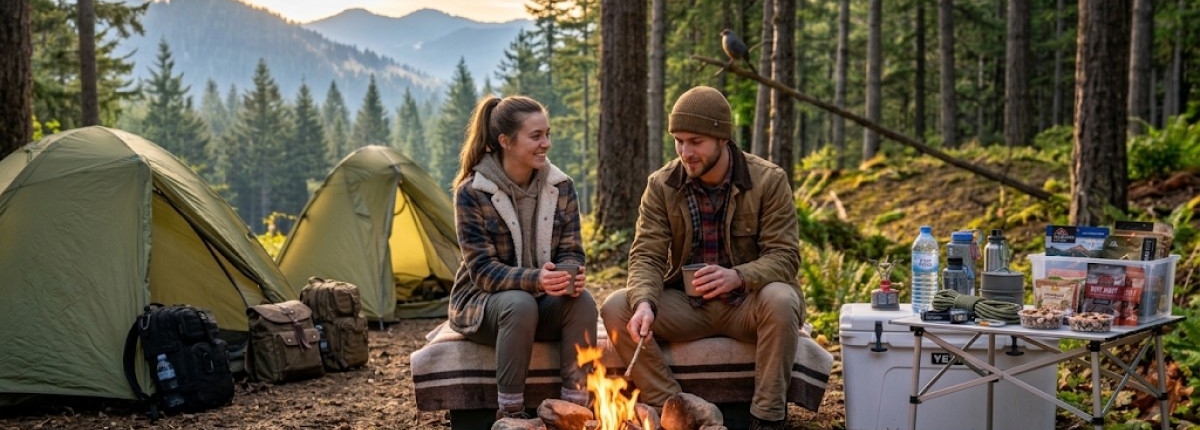
Mountain weather is notoriously fickle; a sunny afternoon can flip to a wind‑swept, rain‑soaked night in minutes. A layered clothing system gives you the flexibility to add or remove insulation as the temperature shifts.
Start with a moisture‑wicking base layer (synthetic or merino wool) that pulls sweat away from the skin. Over that, add a mid‑layer—fleece, lightweight down, or an insulated synthetic jacket—for warmth. Top everything with a waterproof, breathable shell (Gore‑Tex or equivalent) that shields you from wind and precipitation.
Avoid cotton at all costs; it holds moisture and can accelerate heat loss, leading to hypothermia. Instead, rely on synthetic fabrics that dry quickly and retain insulation when damp. Adjust your layers frequently: remove the shell when the sun is out, add the mid‑layer when the wind picks up, and always have a hat and gloves handy for early mornings or high elevations.
Don’t: Push Past Your Physical Limits
Enthusiasm can make you underestimate how demanding a trek will be. While a good level of fitness is essential, you must also respect the body’s signals. Persistent pain, dizziness, or extreme fatigue are red flags that should prompt a rest break or a shortened day.
Start with day hikes that are 50–75% of the distance you plan for your first overnight trip. Build up stamina by gradually increasing pack weight during training walks. Incorporate strength exercises—especially for the core, hips, and calves—to improve stability on uneven terrain.
Remember that altitude, temperature, and terrain all add extra strain. Hydration, nutrition, and sleep are critical recovery tools; neglecting them can turn a minor sore into a serious injury that is difficult to treat far from medical help.
Do: Practice Leave No Trace Principles
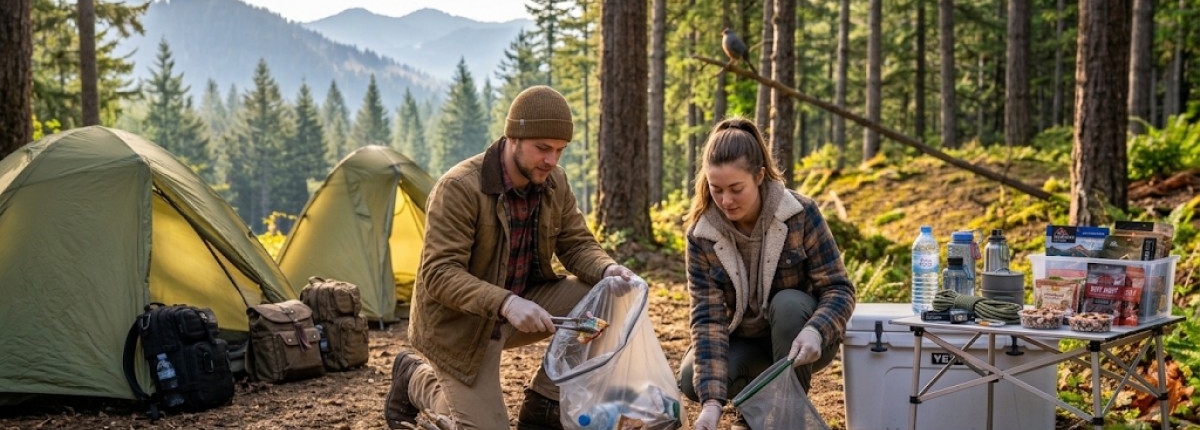
Backpacking carries an implicit responsibility to protect the environment for future visitors. The seven Leave No Trace (LNT) principles provide a clear framework: plan ahead, travel and camp on durable surfaces, dispose of waste properly, leave what you find, minimize campfire impact, respect wildlife, and be considerate of other visitors.
When setting up camp, use existing fire rings or a lightweight stove instead of building a new fire—this preserves fragile vegetation. Pack out all trash, including biodegradable food scraps; a small zip‑lock bag can hold all waste until you reach a proper disposal site.
If you need to use a bathroom, dig a cathole 6–8 inches deep at least 200 feet away from water sources, and cover it fully after use. Avoid contaminating streams by washing dishes at least 200 feet upstream and using biodegradable soap sparingly.
Practicing LNT not only safeguards ecosystems but also reduces the likelihood of fines or trail closures due to overuse.
Don’t: Neglect an Emergency Plan
Even the best‑prepared hikers can encounter unexpected situations—injury, sudden weather changes, or a missed turn. A solid emergency plan starts with a detailed itinerary: list your route, daily mileage, expected campsites, and an estimated return date. Share this information with a trusted friend or family member who can alert authorities if you don’t check in on time.
Equip your pack with a well‑stocked first‑aid kit (bandages, antiseptic wipes, blister treatment, pain relievers, any personal medications). A headlamp with extra batteries, a fire‑starter kit, and an emergency shelter (space blanket or lightweight bivy) are non‑negotiable items for night‑time or weather emergencies.
For remote areas, consider a satellite messenger (Garmin inReach, SPOT) or a personal locator beacon (PLB). These devices can send SOS signals with your GPS coordinates, even without cellular coverage.
Practice basic wilderness first aid—stop bleeding, treat sprains, and manage hypothermia—so you can act confidently if help is delayed.
Do: Start with a Manageable Itinerary
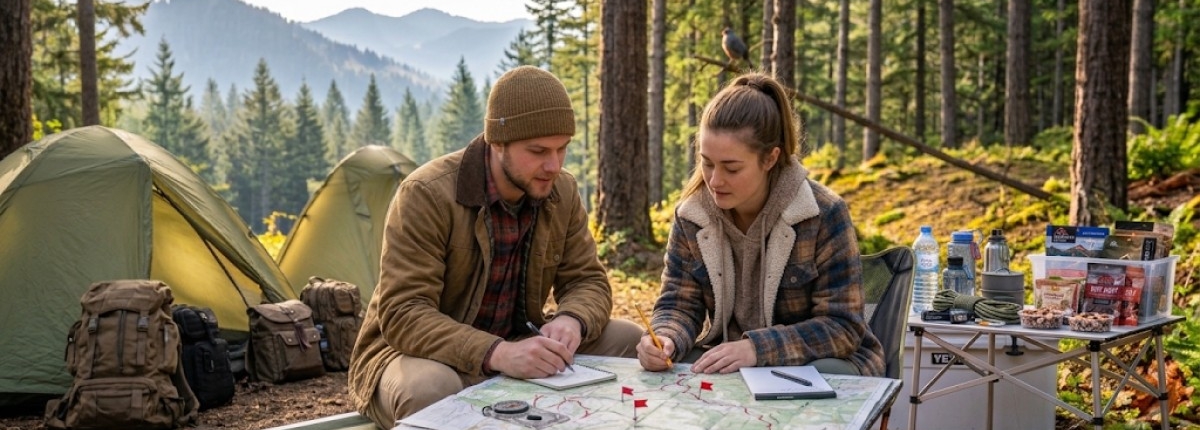
Your inaugural backpacking trip should be a confidence‑building experience, not a marathon. Choose a trail that offers a clear, well‑marked route, moderate elevation gain, and access to reliable water sources. Loop trails or out‑and‑back routes of 8–12 miles over two nights are ideal for beginners.
Research the trail’s difficulty rating, typical weather patterns for the season, and any permit requirements. Arriving early to the trailhead allows you extra time to double‑check gear, review the map, and make last‑minute adjustments.
A shorter trip also gives you room to experiment with pacing, nutrition, and sleep strategies without the pressure of a multi‑day commitment. After a successful first outing, you can progressively increase distance, elevation, and pack weight.
Don’t: Forget the Small Comforts That Make a Big Difference
While minimalism is a virtue on the trail, a few small items can dramatically boost comfort and morale. A lightweight camp pillow or a closed‑cell foam pad adds a surprisingly restful night’s sleep. Earplugs and an eye mask improve rest in noisy or bright campsites.
A compact multi‑tool (with knife, scissors, and screwdriver) saves you from having to carry separate items. A small roll of duct tape can repair torn gear, broken tent poles, or even mend a blistered foot.
Don’t overlook the mental side of the experience—bring a well‑written trail guide, a journal for notes, or a camera for photos. These touches make the adventure more memorable and keep you motivated on tougher sections.
Conclusion: Your First Backpacking Adventure Awaits
Stepping into the backcountry is a rewarding blend of preparation, respect for nature, and personal challenge. By following the dos—investing in proper gear, testing it, planning meals, mastering navigation, layering wisely, practicing Leave No Trace, and crafting a solid emergency plan—you set a sturdy foundation for safe and enjoyable trips.
Equally important are the don’ts: avoiding cheap footwear, overpacking, reliance solely on gadgets, pushing past physical cues, ignoring weather, and neglecting a contingency plan. These pitfalls can turn a pleasant outing into a hazardous ordeal.
Armed with these guidelines, you’re ready to pack your tactical camping backpack, hit the trail, and experience the unparalleled freedom that comes from trekking beneath the open sky. Happy trails!