

Maintenance and Cleaning for Your Morale Patches
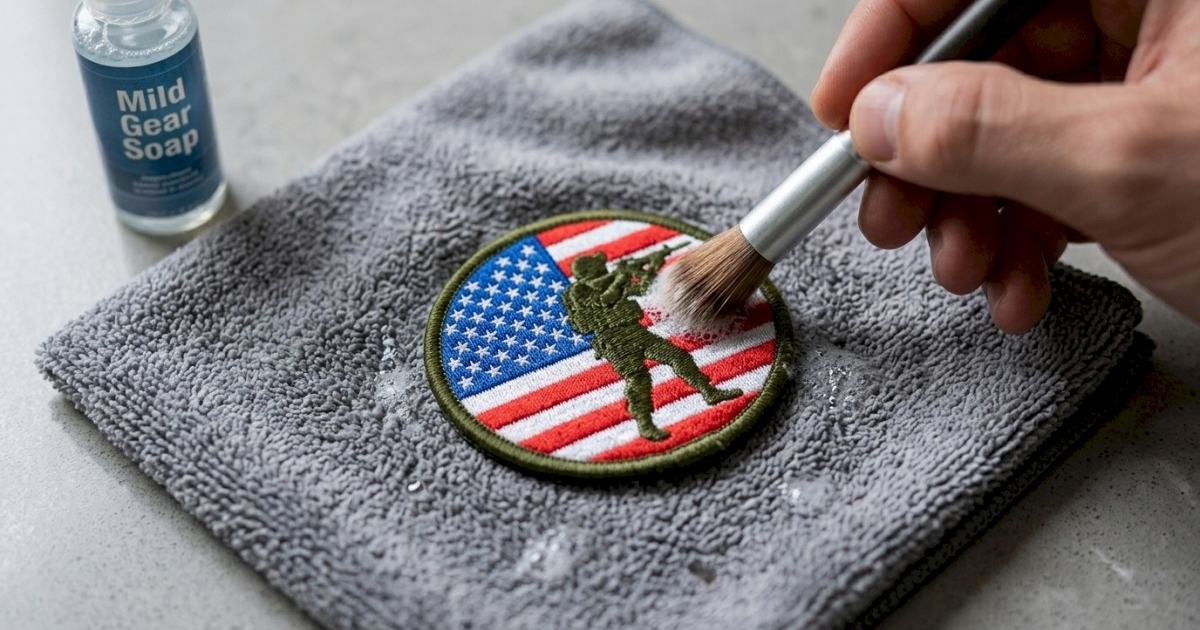
Morale patches are more than decorative stickers; they’re badges of identity, humor, and camaraderie that travel with you on hikes, missions, or the daily commute. They are commonly found on tactical backpacks, shoulder sling bags, medic first-aid pouches and other similar gear.
A well‑kept patch stays vibrant, the stitching holds firm, and the adhesive on the backing doesn’t fail when you need it most. Neglecting basic maintenance can lead to faded colors, frayed edges, and a patch that tears off at the wrong moment – a small but costly mistake when the design represents a hard‑earned achievement or a beloved inside joke.
In this guide we’ll cover the science behind different patch materials, a step‑by‑step cleaning routine, how to handle stubborn stains, drying techniques that prevent damage, caring for the Velcro or hook‑and‑loop backing, storage solutions for collectors, quick repairs, and long‑term habits that keep every patch looking fresh. By the end you’ll have a practical toolbox that works whether you enjoy using a backpack for a weekend trip, a tactical operator, or a collector with a wall of embroidered art.
Identify the Material Before You Start
Not all patches are created equal. The most common types you’ll encounter are embroidered, woven, and PVC (soft rubber). Each responds differently to water, heat, and chemicals, so a one‑size‑fits‑all cleaning method can do more harm than good.
Embroidered patches are stitched from threads that can snag when rubbed harshly. The fabric backing is usually a heavy‑weight twill or canvas, which can absorb water but may also stretch if twisted. Look for a stitched edge; if the design is built from visible stitching, you’re dealing with an embroidered piece. These patches are common on backpacks and small bags so checkout how to wash a backpack and get all your gear ready for your next adventure.
Woven patches have a tighter, smoother surface because the design is woven directly into the fabric. They’re less prone to fraying but can pill when exposed to abrasive scrubbing. Woven patches often have a printed finish that can fade under harsh detergents.
PVC patches are made of a flexible plastic composite. They’re waterproof, resistant to mud, and can survive a rough outdoor environment. However, high heat can warp the material, and solvents can dissolve the surface gloss.
If the manufacturer’s tag or description is missing, run a quick water test: a few drops of lukewarm water on an inconspicuous corner. If the fibers absorb the water, you’re likely dealing with embroidered or woven fabric. If the water beads up, it’s probably PVC.
The Gentle Hand‑Wash Method (Your New Best Friend)
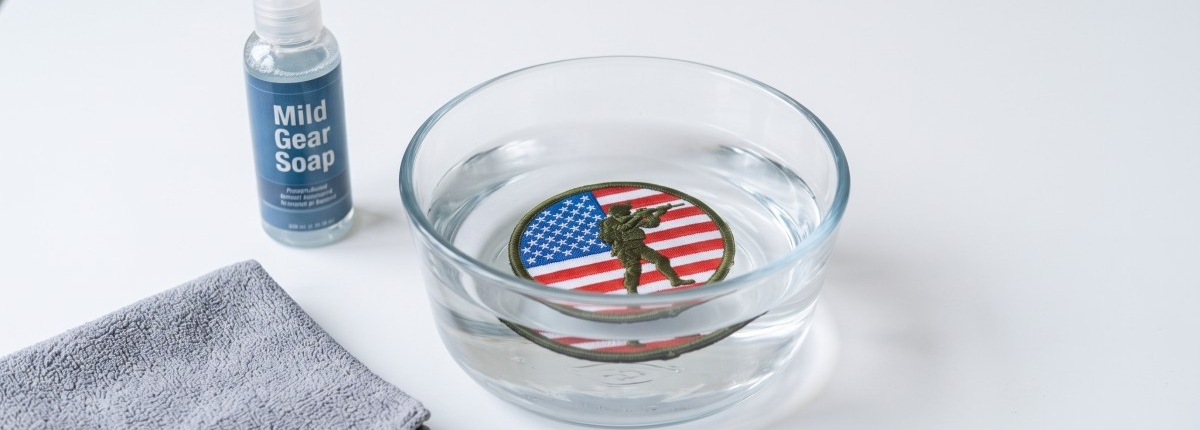
Hand washing is the safest, most versatile method for all three patch types. Follow these steps for a thorough yet gentle clean:
- Prepare a basin – Fill a small bowl or sink with lukewarm (not hot) water and add a teaspoon of mild, fragrance‑free detergent. Stir until a light foam forms.
- Soak briefly – Submerge the patch for 3–5 minutes. This loosens dust, sweat, and loose dirt without aggressive agitation.
- Rub lightly – Use your fingertips or a soft microfiber cloth to rub the surface in circular motions. For embroidered patches, rub with the direction of the stitches to avoid pulling threads.
- Rinse clean – Hold the patch under cool running water, allowing the water to flow through the fibers and carry away any soap residue.
- Pat dry – Lay a clean, dry towel on a flat surface, place the patch on top, and press another towel gently over it. Avoid wringing or twisting – the patch should retain its shape.
For patches attached to gear, you can clean the entire item (e.g., a tactical vest) using the same solution, but be sure to protect any adjacent fabric with a plastic barrier to prevent detergent soaking into the surrounding material.
Tackling Stubborn Stains Without Sacrificing Detail
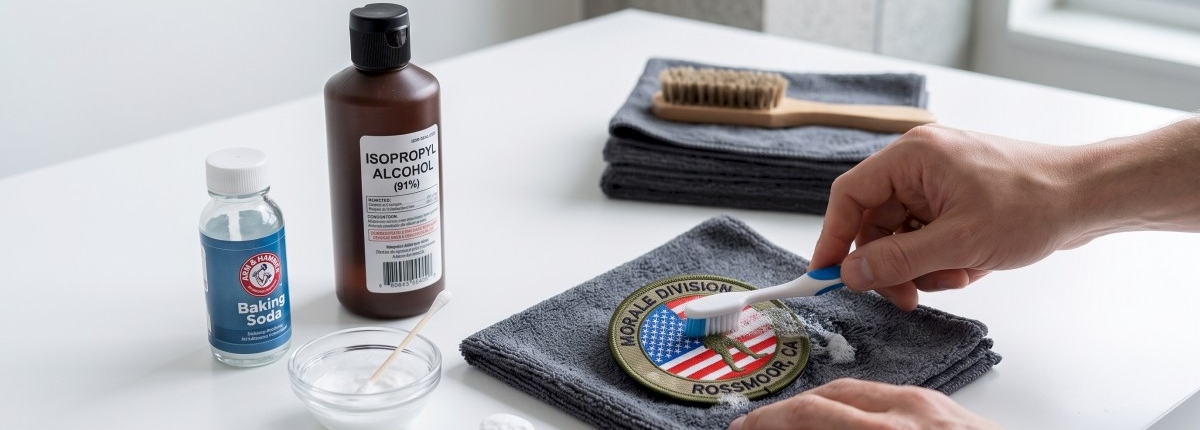
Grease from a hot meal, mud from a rainy trail, or ink from a marker can embed themselves deep into the fibers. When a simple soak isn’t enough, use a targeted approach:
- Soft‑bristle toothbrush – Dip the brush in the same mild soap solution and work it over the stain using short, gentle strokes. Move with the grain of the fabric for embroidered patches and against the weave for woven patches to lift the particle without pulling the fibers.
- Baking soda paste – For oily stains, mix a small amount of baking soda with water to form a thin paste. Apply the paste to the stain, let it fizz for a minute, then gently brush away.
- Isopropyl alcohol – For ink or dye stains, dampen a cotton swab with 70% isopropyl alcohol and dab the area lightly. Test on a hidden spot first to ensure the alcohol doesn’t discolor the patch.
Never use bleach or harsh chemicals on any patch type. Bleach will strip color from embroidered and woven fabrics, and it can cause PVC to become brittle.
Drying Without Heat: Preserving Shape and Adhesive
The drying stage is where many patches get unintentionally ruined. Direct heat sources—hair dryers, radiators, or sunlight—can melt PVC glue, shrink synthetic fibers, or cause the backing to delaminate.
- Air‑dry on a towel – Lay the patch flat on a clean, dry towel in a well‑ventilated area. Flip it over after 30 minutes to allow airflow on both sides.
- Avoid sunlight – Even indirect UV can fade colors over time. A shaded, indoor space with low humidity is ideal.
- Patience pays off – Allow at least 2–3 hours for a thin embroidered patch to dry completely; thicker PVC patches may need up to 6 hours depending on humidity.
If you’re in a hurry, a low‑setting (no heat) fan can accelerate drying without risking damage. Keep the fan a reasonable distance to avoid blowing dust onto the wet patch.
Maintaining the Hook‑and‑Loop (Velcro) Backing
The patch’s adhesive side is only useful if the hook‑and‑loop connection works. Over time, lint, hair, and debris clog the tiny hooks, reducing grip strength.
- Fine‑tooth comb – Gently run a clean comb over the hook side to lift trapped fibers.
- Sticky‑tape swipe – Press a piece of packing tape onto the hook side, then pull away quickly. This lifts loose lint without pulling the hooks.
- Cleaning the loop side – If the gear’s loop side is dirty, a lint roller or a soft brush does the trick. For heavily worn loops, consider swapping the backing panel on your equipment; replacement panels are inexpensive and keep the patch securely attached.
Regularly cleaning both sides extends the life of the connection and prevents the patch from slipping off during intense activity.
Smart Storage for a Growing Collection
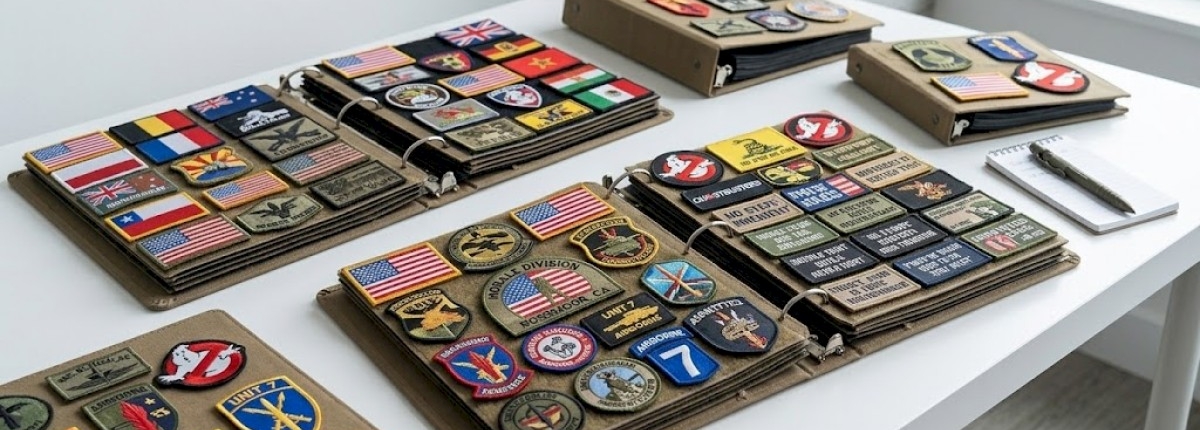
When patches are not on display, they’re vulnerable to crushing, bending, and UV exposure. A systematic storage plan keeps your investment organized and protected.
- Patch panels – Purchase a Velcro board or a fabric panel with rows of hook material. Each patch sticks to its own square, staying flat and visible.
- Binders with hook pages – For large collections, a ring‑binder equipped with Velcro pages acts like a scrapbook. Flip through your patches without removing them.
- Acid‑free sleeves – If you prefer a minimalist approach, slide each patch into a clear, acid‑free plastic sleeve. Store sleeves in a drawer with a divider to avoid overlap.
Store the panel or binder in a cool, dry closet away from direct sunlight. Ideal temperature: 65–75°F (18–24°C) with humidity under 60% to prevent mold on the fabric or adhesive.
Quick Repairs: Loose Threads, Fraying Edges, and Broken PVC
Even with the best care, patches can suffer wear. Knowing a few simple fixes can save a sentimental piece.
- Loose thread – Trim the stray fiber close to the base with sharp scissors. If the stitch is truly broken, a tiny stitch of matching thread can seal the gap without altering the design.
- Frayed edges (fabric patches) – Lightly melt synthetic fibers with a kitchen lighter. Hold the flame a few centimeters away and pass the edge quickly; the fibers will seal without burning. Use this method only on nylon or polyester backs, never on cotton.
- Cracked PVC – For minor cracks, a clear silicone sealant applied sparingly can hold the surface together. Smooth the sealant with a fingertip and let it cure for 24 hours before re‑attaching.
- Weak adhesive – If the backing loses its stickiness, a thin layer of spray‑adhesive made for fabric patches can restore bond. Apply to the back only, let it become tacky, then press onto the gear.
These fixes are temporary but buy you time until a replacement patch is available.
Reviving Dull PVC: Restoring Shine Safely
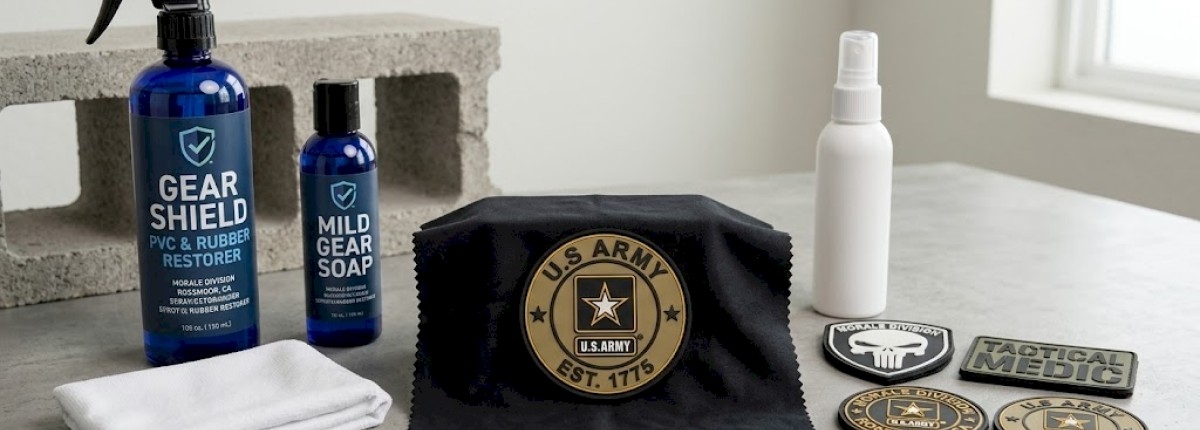
Over months of exposure, PVC patches can look matte or develop a fine haze. A proper polish brings back the original gloss without harming the design.
- Choose a silicone‑based polish – A tiny amount of silicone oil or a dedicated plastic restorer works best.
- Apply to a microfiber cloth – Never pour the product directly on the patch; this can saturate the adhesive.
- Buff gently – Use small, circular motions until the surface reflects light evenly.
- Wipe away excess – A dry section of the cloth removes any residue, preventing a sticky buildup.
Avoid petroleum‑based cleaners (like mineral oil or gasoline) as they can degrade the PVC over time.
Rotating Your Patches for Longevity
Wearing the same patch day after day subjects it to constant UV, sweat, and abrasion. A simple rotation schedule extends lifespan:
- Two‑day rotation – Swap patches every other day, especially for high‑visibility colors that fade faster.
- Mission‑based rotation – Assign a set of patches for each activity (hiking, gym, everyday carry) and rotate the sets weekly.
- Monthly audit – At the end of each month, inspect each patch for early signs of wear. Replace or repair those that show fraying or fading.
Rotating also keeps your look fresh and showcases the breadth of your collection.
Keeping Gear Mission‑Ready
A well‑maintained morale patch does more than look good; it signals professionalism, unit cohesion, and personal pride. By integrating these care steps into your routine, you ensure that every patch remains a clear, durable statement of who you are.
- Pre‑mission checklist – Include a quick visual inspection of patches and Velcro connections before any operation.
- Post‑mission care – After a dirty outing, wipe patches with a damp cloth, dry, and store them properly. This habit prevents grit from grinding into fibers.
- Education for teammates – Share these tips with your squad. When everyone follows the same maintenance standards, the entire gear set stays sharper longer.
Ultimately, a small investment of time—about 10‑15 minutes per patch per month—pays off in years of vibrant, reliable patches that tell your story without fading.
Bonus: When to Replace a Patch
Even the best maintenance can’t save a patch that’s been through a severe chemical spill, extreme heat, or prolonged UV exposure. Signs it’s time for a replacement include:
- Permanent discoloration that doesn’t respond to cleaning or polishing.
- Irreversible tearing or holes that expose the backing.
- Adhesive that no longer holds after multiple re‑applications of glue.
Having a spare of your favorite designs on hand means you can swap out a damaged patch without missing a beat.
By treating your morale patches with the same respect you give your equipment, you’ll keep them bold, functional, and ready for the next adventure. Happy patch caring!