

9 Tips for Making Your Backpack Last Longer
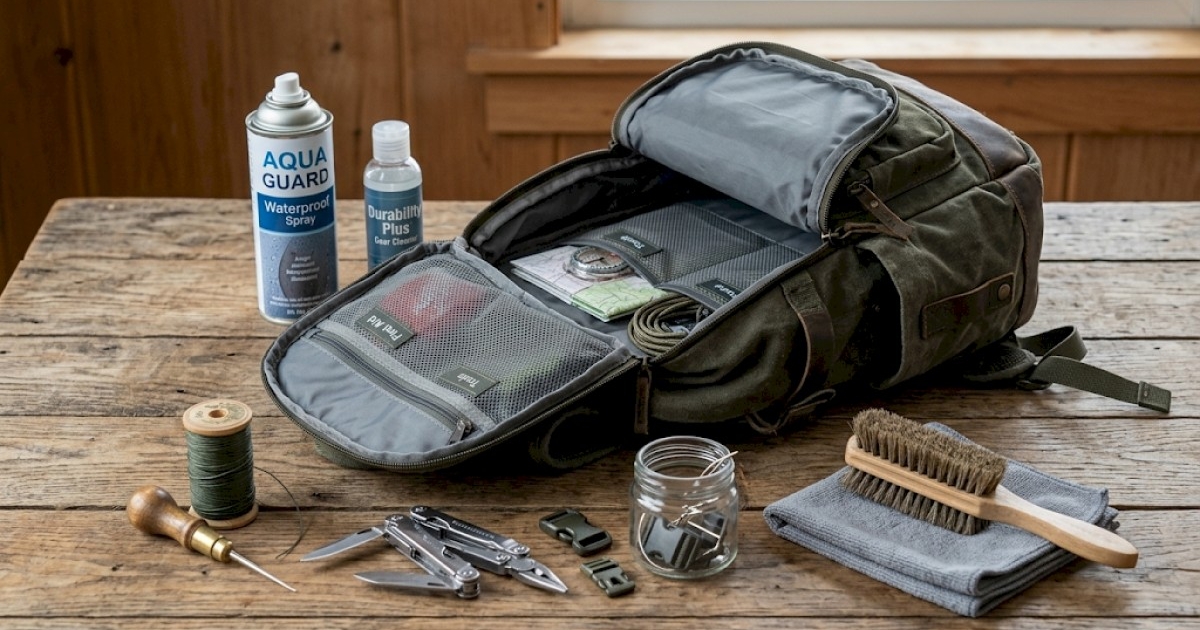
If you’ve ever spent a good chunk of change on a high‑quality backpack, you know it’s more than just a bag – it’s a daily sidekick that carries everything from laptops to gym gear. But like any trusty companion, a backpack just like a nylon waist bag, needs a little love to keep performing at its best. In this guide we’ll walk you through nine practical tips that will help you get the most out of your pack, whether you’re a commuter, a student, an outdoor enthusiast, or a weekend warrior. By the end of the article you’ll have a clear routine for cleaning, maintenance, minor repairs, and even creative ways to give an old bag a second life. Let’s dive in.
1. Clean It Regularly, But the Right Way
The most common cause of premature wear is the buildup of dirt, sweat, and grime. These particles act like tiny sandpaper against the fabric, breaking down fibers over time. Instead of tossing your backpack in the washing machine – which can warp frames, melt waterproof coatings, and stress stitching – opt for a gentle hand‑wash routine.
Step‑by‑step cleaning:
- Fill a basin with lukewarm water and add a few drops of mild dish soap or a dedicated technical‑fabric cleaner.
- Use a soft‑bristled brush or a clean sponge to scrub high‑contact zones such as shoulder straps, the back panel, and pocket interiors.
- Rinse thoroughly with clean water, making sure no soap residue remains.
- Hang the bag upside down in a shaded, well‑ventilated area. Direct sunlight can degrade UV‑sensitive coatings, so a shaded balcony or a laundry line works best.
Cleaning once a month for daily commuters, or after every outdoor adventure, keeps the material supple and prevents odor buildup. If you’re in a hurry, a quick spot‑clean with a damp cloth and a little soap can address spills before they set in.
2. Keep Zippers and Buckles Smooth and Functional
Zippers are the unsung heroes of any backpack. A stuck or broken zipper can render an entire compartment useless. The good news is that routine care is simple and inexpensive.
- Debris removal: Use a small, soft brush (an old toothbrush works great) to sweep out dust, sand, or lint from the teeth. Even a tiny grain can cause a snag that forces you to pull harder and eventually break the pull tab.
- Lubrication: For stubborn zippers, glide a graphite pencil across the teeth. The graphite acts as a dry lubricant that won’t attract more dirt. For heavy‑duty packs, a silicone‑based zipper spray works well – just apply a light mist and wipe away excess.
- Buckles: Wipe metal buckles with a damp cloth and a drop of mild soap, then dry them completely. If a buckle feels loose, a quick tighten of the screw (most buckles have a small set screw) will restore a firm click.
By treating these small components before they fail, you avoid the frustration of a jammed compartment mid‑trip.
3. Re‑Apply Waterproofing When Needed
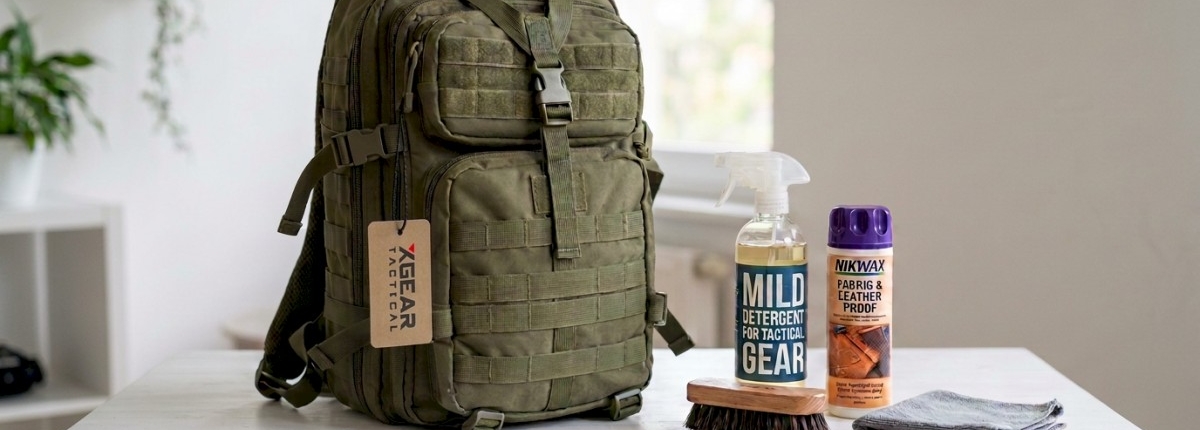
Even the toughest nylon or polyester fabrics benefit from a protective layer. Over time, the factory‑applied Durable Water Repellent (DWR) wears off, especially after repeated washes.
- DWR spray: Choose a spray designed for technical fabrics. Apply it in a well‑ventilated area, misting evenly from about 6‑8 inches away. Allow the bag to dry according to the product instructions, usually a few hours, then heat‑activate the coating with a low‑heat dryer or by hanging the bag in the sun for a short period.
- Rain cover: For heavy rain days, a detachable rain cover adds an extra barrier. It’s especially useful for backpacks with exposed zippers or canvas panels that absorb water quickly.
Regular re‑application—once or twice a year depending on usage—keeps the pack from becoming a soggy, heavy sack and prolongs fabric life.
4. Patch Small Tears Before They Grow
A tiny nick in the fabric can quickly become a full‑blown rip if you keep loading weight onto that spot. The key is to address it while it’s still small.
- Gear‑tape fix: For a quick field repair, use a piece of high‑strength fabric or gear‑repair tape. Cut a patch slightly larger than the hole, round the corners (to prevent peeling), and press firmly over the tear.
- Sewn patch: For a more permanent solution, grab a piece of matching Cordura or heavy canvas, a sturdy needle, and polyester thread. Place the patch on the inside of the bag to keep the exterior looking clean, then stitch around the edges with a tight, even stitch. A simple running stitch works, but a backstitch adds extra strength.
Having a small repair kit in your backpack—tape, needle, thread, and a spare fabric swatch—means you can fix a tear on the go without a trip to the store.
5. Reinforce High‑Stress Areas
Backpacks are designed with reinforced stitching at the base, strap attachment points, and haul loops, but heavy use can still thin these zones. Reinforcement adds an extra safety net.
- Bottom panel: Sew an additional layer of Cordura or a piece of old denim onto the inside bottom. This distributes weight more evenly and reduces wear when you set the bag down on rough surfaces.
- Strap connections: If you notice fraying where the shoulder straps meet the main body, apply a strip of webbing over the seam and stitch it securely. This prevents the seam from pulling apart under load.
- Haul loop: A simple loop of 1‑inch webbing sewn around the base gives you a sturdy grab point for lifting heavy packs without stressing the fabric.
These tweaks are easy for anyone with basic sewing skills and dramatically extend the structural life of the pack.
6. Replace Worn Hardware Promptly
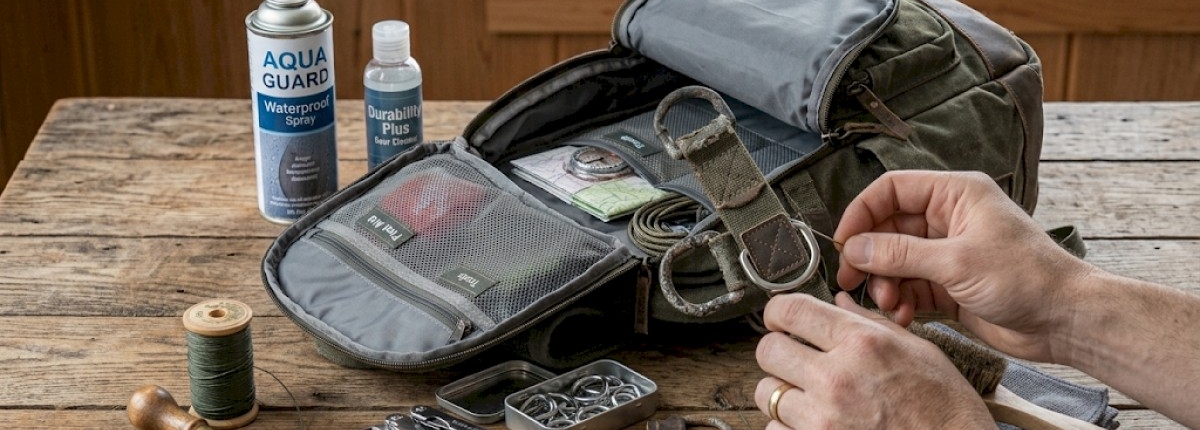
Metal hardware—buckles, D‑rings, slide adjusters—takes a beating. A cracked buckle or a slipped slide can render a strap useless. Most outdoor retailers sell universal replacement parts that fit a wide range of brands.
- Identify the size: Bring the old piece to the store or compare it with the manufacturer’s catalog to find a matching replacement.
- Swap it out: Most buckles have a small screw or pin that holds the two halves together. Unscrew, replace the worn part, and tighten securely. For slide adjusters, a simple prying tool can release the old piece; slide the new one into place and test the tension.
Replacing hardware yourself saves money and keeps your pack looking like new.
7. Store It Properly When Not in Use
Even the best‑maintained backpack can suffer if it’s stored in the wrong conditions. Improper storage leads to mold, warping, and loss of shape.
- Cool, dry place: Keep the bag in a closet or a breathable storage bag (avoid plastic trash bags) where air can circulate.
- Shape preservation: Stuff the main compartment with clean, lightweight items—like a rolled towel or a soft sack—to keep the bag from collapsing. This helps maintain the internal frame (if it has one) and prevents permanent creases.
- Avoid direct sunlight: UV rays break down synthetic fibers over time, so a dark cabinet is preferable to a windowsill.
If you anticipate a long hiatus (e.g., seasonal backpacking), consider applying a fresh coat of DWR before storage for added protection.
8. Repurpose an Old Backpack
When a backpack starts showing significant wear but still functions, think about giving it a new purpose instead of tossing it.
- Gym bag: Use the existing compartments for shoes, sweaty clothes, and a separate water bottle pocket.
- Travel organizer: Turn the main compartment into a laundry bag for dirty clothes on trips, while using side pockets for toiletries.
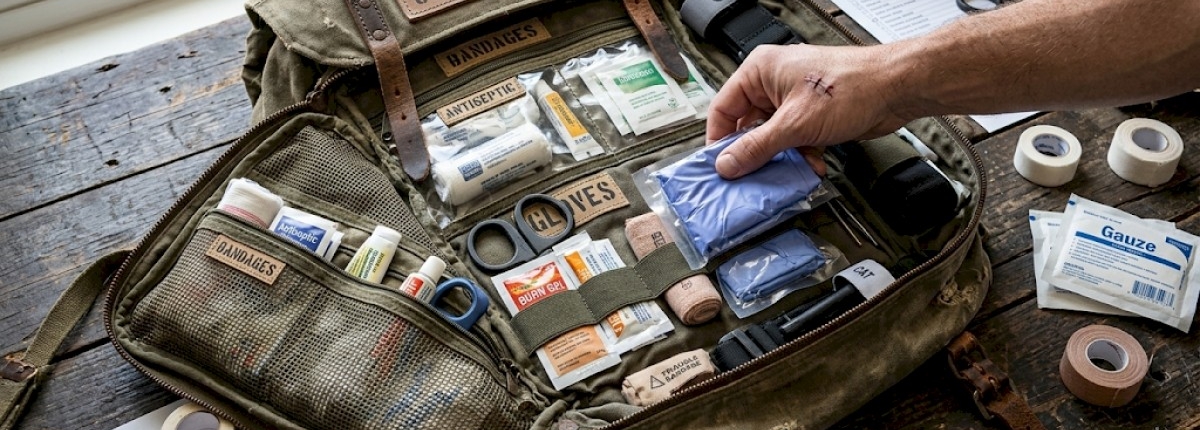
- Emergency kit carrier: Pack a basic first‑aid kit, flashlight, and a few tools. The rugged construction makes it perfect for a car‑ready bug‑out bag.
- DIY projects: Cut the fabric into smaller pouches, tool rolls, or even a pet travel carrier. The sturdy webbing makes excellent straps for homemade gear.
By extending the life of the material in a new role, you get extra value and reduce waste.
9. Donate or Pass It On When It’s Still Serviceable
If the backpack is still structurally sound but you’ve upgraded to a newer model, consider donating it. Schools, shelters, and disaster‑relief organizations often need sturdy packs for students and families. A well‑maintained bag can make a big difference for someone who otherwise couldn’t afford one.
When donating, give the bag a quick clean, check that all zippers work, and include a short note about any quirks (e.g., a slightly loose buckle) so the new owner knows what to expect.
Bonus: Quick Daily Checklist
To keep the routine manageable, use this 5‑point checklist each week:
- Wipe down straps with a damp cloth.
- Inspect zippers for snagged teeth; lubricate if needed.
- Check for new holes and patch them immediately.
- Shake out the bag to prevent debris buildup.
- Store it upright with a light load inside to hold shape.
A few minutes each week prevents small issues from snowballing into costly repairs.
Conclusion
A backpack is an investment in convenience, organization, and sometimes even safety. By treating it with the same care you’d give a piece of outdoor gear—regular cleaning, diligent hardware maintenance, timely repairs, and thoughtful storage—you’ll stretch its useful life well beyond the average two‑year turnover many shoppers experience. Whether you end up reinforcing the bottom panel, applying fresh waterproofing, or turning an old pack into a dedicated gym bag, these nine tips give you a clear roadmap to keep your gear reliable for years to come.
Remember, the goal isn’t just to make your backpack look good; it’s to ensure it continues to serve you without failure when you need it most. Happy packing!