

How to Clean and Remove Battery Corrosion
Understanding Battery Corrosion
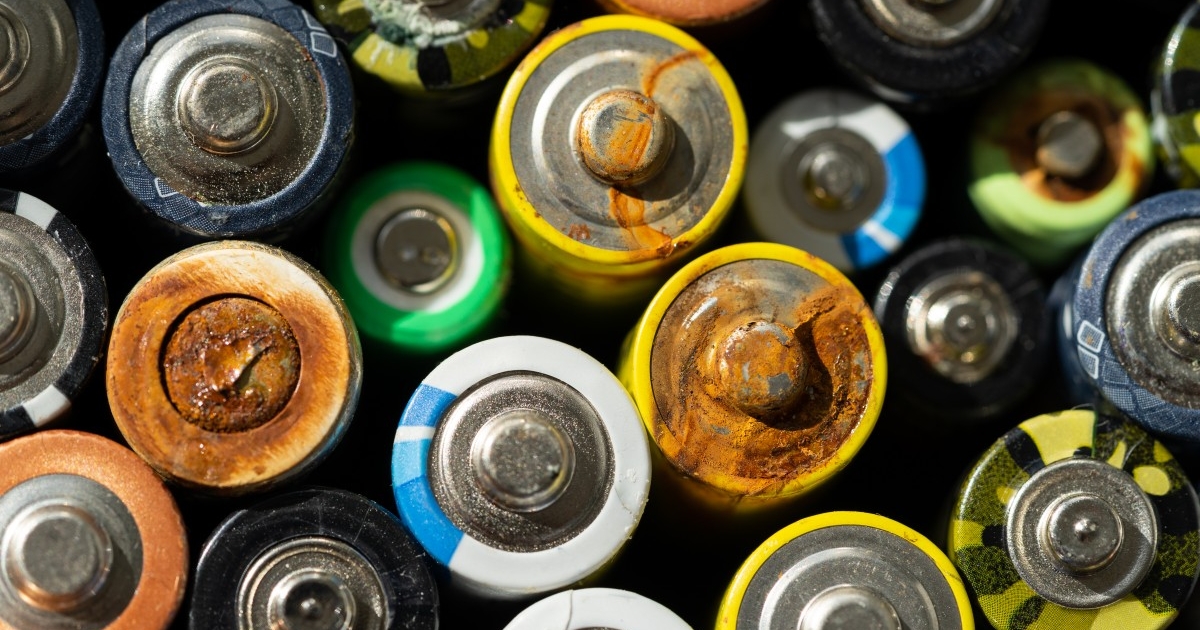
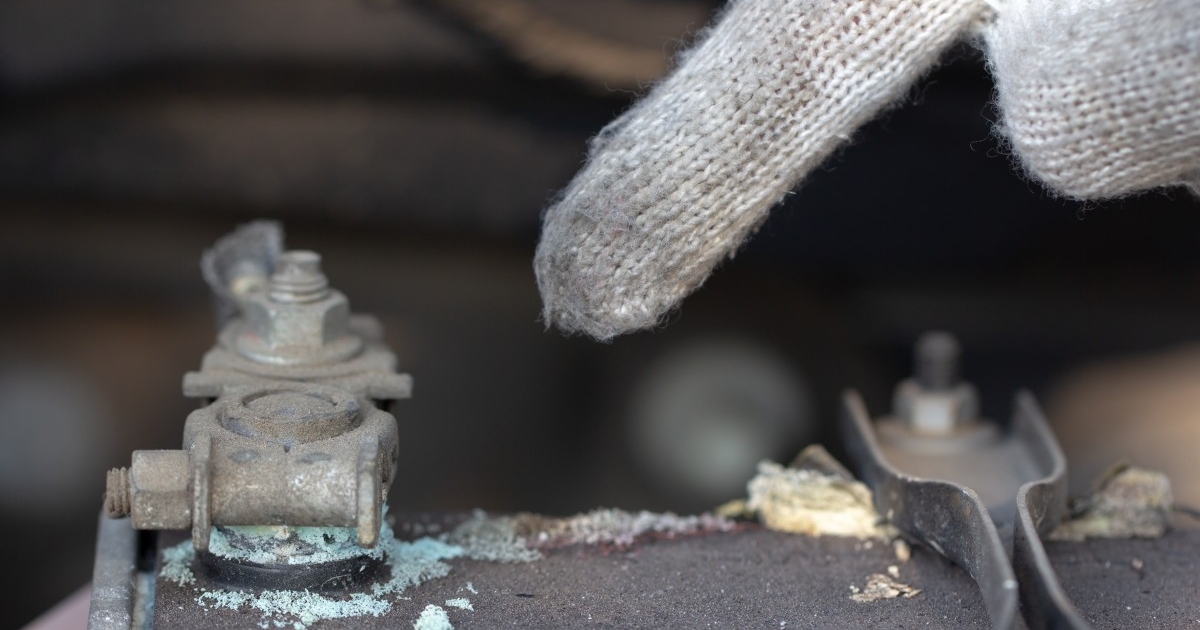
Battery corrosion is that unsightly, powdery residue you sometimes see around the terminals of a remote, a toy, or a car battery. It’s the result of a chemical reaction between the battery’s electrolyte—usually a mix of sulfuric acid (in lead‑acid batteries) or alkaline compounds (in AA/AAA cells)—and the metal contacts. Over time, the acid or alkaline solution leaks, reacts with the copper or steel, and creates a crust that looks like white, green, or bluish‑white powder. While it may seem harmless, corrosion can increase resistance, cause intermittent power loss, and even permanently damage the device if left unchecked.
The good news is that most corrosion can be safely removed with household items and a little patience. The key is to act quickly, protect yourself from the corrosive material, and follow a systematic cleaning process. Below, we’ll walk through everything you need to know—from safety prep to the actual cleaning steps, and finally how to keep your devices corrosion‑free.
Before you learn how to clean battery corrosion, you should be aware of a few different things that can cause battery corrosion, including:
- Overcharging or undercharging the battery: When a battery is overcharged, it produces too much hydrogen gas, which can escape and react with the air to form a corrosive substance. Undercharging the battery can also lead to corrosion, as the battery acid will become more concentrated.
- Leaks: If the battery casing leaks, the battery acid can come into contact with the metal terminals and surrounding components, causing corrosion. Leaks can be caused by physical damage to the battery, or by extreme heat or cold.
- Age: Batteries degrade over time, and as they do, they are more likely to corrode.
Safety First: Gear Up and Prepare Your Workspace

Before you even touch a corroded battery, gather the right protective equipment. Even though the chemicals involved are relatively mild compared to industrial acids, they can still irritate skin, eyes, and respiratory passages. Wear nitrile gloves (latex can degrade when it contacts battery acid), safety goggles, and an apron or old shirt you don’t mind getting dirty. If you’re working on a larger battery, such as a car battery, consider a face shield and a respirator with a neutral‑pH filter.
Next, choose a well‑ventilated area. The fumes from battery acid, especially when mixed with cleaning agents like vinegar, can be pungent. Open windows or work outdoors if possible. Keep a bucket of clean water, paper towels, and a small trash can nearby for disposal of used wipes and the old battery if you need to replace it. Finally, have your cleaning supplies ready: baking soda, white vinegar, a soft toothbrush or battery terminal brush, a lint‑free cloth, and a corrosion‑preventive spray or petroleum jelly.
Identifying the Type of Corrosion
 Not all corrosion looks the same, and recognizing the type can help you choose the most effective neutralizing agent. Acidic corrosion (common with alkaline batteries) typically appears as a white, crusty powder. It’s the result of potassium hydroxide or similar alkaline compounds reacting with copper. Alkaline corrosion (more often seen with lead‑acid car batteries) can look greenish or bluish due to copper sulfate formation.
If you’re unsure, a simple test can confirm the nature of the residue. Dampen a cotton swab with a few drops of distilled water and gently rub the crust. If it fizzes or bubbles, you’re dealing with an acidic reaction; a lack of fizz suggests alkaline corrosion. This knowledge is useful because acidic residues are best neutralized with a baking soda paste, while alkaline residues respond well to vinegar.
Gathering the Right Cleaning Materials
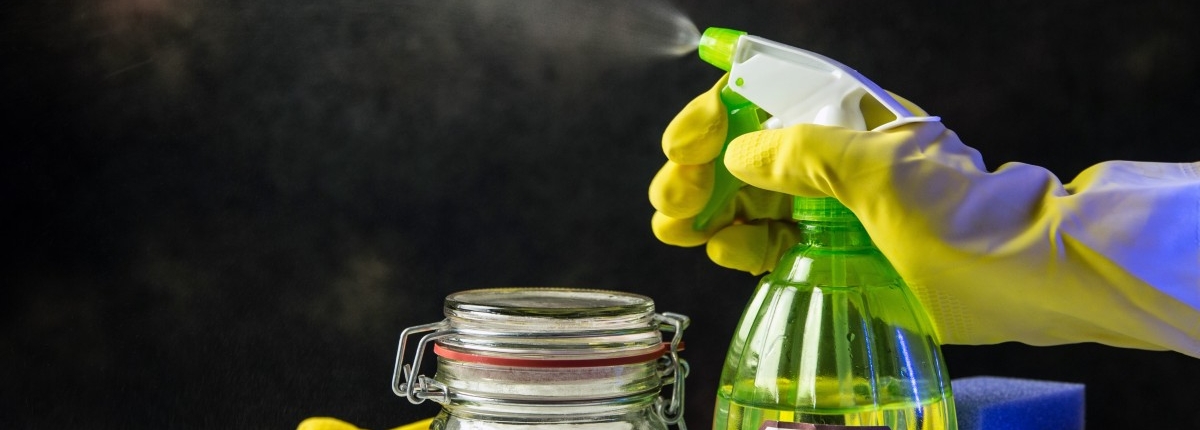
Baking Soda Paste (for Acidic Corrosion)
- 2 parts baking soda
- 1 part water (enough to make a thick paste)
- Small mixing bowl and spoon
Vinegar Solution (for Alkaline Corrosion)
- White distilled vinegar (plain, not flavored)
- Optional: a few drops of dish soap to improve wetting
Tools
- Soft‑bristled toothbrush or dedicated battery terminal brush
- Lint‑free cloths or microfiber towels
- Small plastic or wooden spatula (never metal!)
- Disposable zip‑top bags for waste
Having these items on hand will keep the process smooth and prevent you from improvising with potentially harmful chemicals.
Step‑By‑Step Cleaning Process
1. Disconnect and Remove the Battery
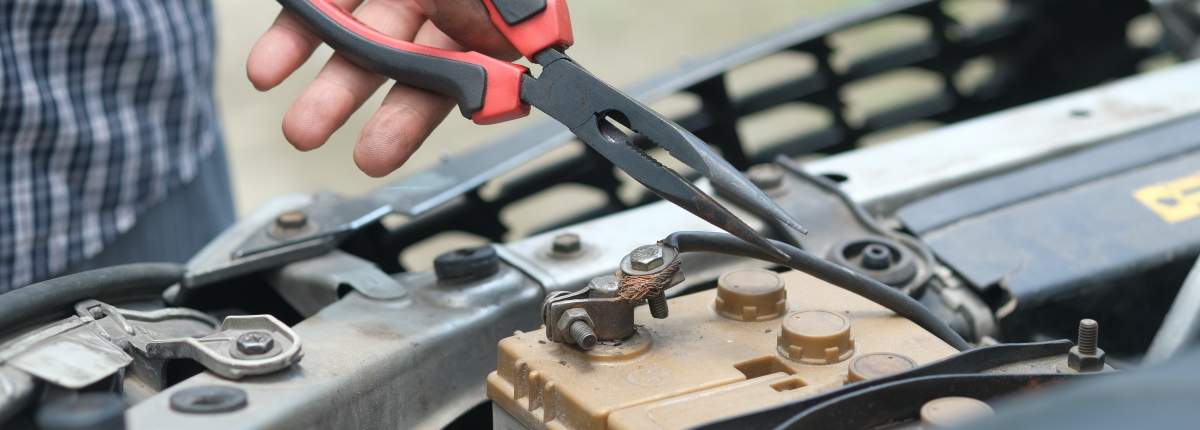
If you’re cleaning a removable battery (e.g., AA, AAA, or a laptop battery), power down the device completely, unplug it, and gently remove the battery. For non‑removable batteries like those in a car, disconnect the negative (black) terminal first, then the positive (red) to avoid short circuits. Once the power source is isolated, you can safely work on the terminals.
2. Apply the Neutralizing Agent
- Acidic corrosion: Dip your brush into the baking soda paste and apply a generous amount over the corroded area. The paste will fizz as it neutralizes the acid, breaking down the crust.
- Alkaline corrosion: Soak a cloth or cotton swab in white vinegar and press it onto the greenish residue. The vinegar’s mild acidity will dissolve the alkaline buildup.
Let the chosen agent sit for 2‑3 minutes. This dwell time allows the chemical reaction to fully loosen the corrosion.
3. Scrub Gently
Using the soft brush, scrub in a circular motion. Avoid using metal tools, which can scratch the terminals and create new sites for corrosion. For stubborn spots, re‑apply the paste or vinegar and let it sit a few more seconds before scrubbing again. The goal is to lift the crust without damaging the underlying metal.
4. Rinse and Dry
After the crust has loosened, wipe the area with a damp (not soaking) cloth to remove any remaining paste or vinegar. For car batteries, you can use a spray bottle of distilled water to rinse. Immediately dry the terminals with a lint‑free cloth; lingering moisture can accelerate future corrosion.
5. Inspect and Re‑coat
Once dry, examine the metal contacts. They should appear shiny and free of powder. If you notice any pitting or deep corrosion, you may need to replace the battery or the terminal itself. For a protective barrier, apply a thin layer of petroleum jelly or a commercial anti‑corrosion spray. This coating repels moisture and reduces the chance of future buildup.
6. Re‑install the Battery
Reconnect the battery, ensuring the positive terminal is attached first for removable batteries, and the negative terminal last for vehicle batteries. Power the device back on and verify that it functions correctly. If you notice any intermittent issues, double‑check that the terminals are fully seated and that no residue remains.
Preventing Future Corrosion
Cleaning is only half the battle; preventing corrosion will save you time and money. Here are some practical habits:
- Regular inspection: Every few months, glance at battery compartments, especially in humid environments. Early detection makes cleaning easier.
- Use protective caps: Many devices come with plastic caps for battery terminals. Keep them on when the device is stored for long periods.
- Store batteries properly: Keep batteries in a cool, dry place. Extreme temperatures accelerate electrolyte leakage.
- Consider rechargeable batteries: They tend to leak less than cheap disposable alkaline cells, especially when they’re not left to discharge completely.
- Apply a thin protective coat: A dab of petroleum jelly on terminals can create a moisture barrier, especially for outdoor equipment.
Dealing with Stubborn or Severe Corrosion
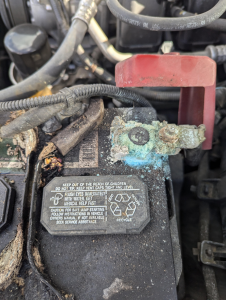 Sometimes, corrosion can be extensive, forming thick crusts or even causing metal pitting. In these cases, a more aggressive approach may be needed. After the initial cleaning, you can use a fine‑grade sandpaper (400‑600 grit) to gently sand away remaining residue, being careful not to gouge the metal. Follow up with a fresh coat of anti‑corrosion spray.
If the battery compartment itself is damaged—cracks, warped contacts, or severe pitting—it’s safest to replace the entire compartment or seek professional repair. Continuing to use a compromised battery connection can lead to overheating, short circuits, or even fire hazards.
Special Considerations for Different Devices
Household Electronics (Remote Controls, Toys)
These often use small alkaline cells. Because the compartments are tight, a cotton swab dipped in vinegar works well. Avoid over‑wetting; a little goes a long way.
Laptops and Power Tools
These devices typically house lithium‑ion batteries, which are sealed and less prone to leakage. However, if you notice corrosion around the contacts, treat it the same way—use a baking soda paste, but be extra cautious not to damage the delicate pins.
Automotive Batteries
Car batteries are large lead‑acid units that can produce significant acid fumes. Always wear a face shield and work outdoors. After cleaning, test the battery voltage with a multimeter; a healthy 12‑volt battery should read around 12.6 V when the engine is off.
When to Dispose of a Battery
If after cleaning you still see heavy corrosion, the battery is swollen, or it no longer holds a charge, it’s time to recycle it. Most municipalities have designated drop‑off points for batteries. Never throw them in regular trash, as the chemicals can leach into the environment. This is especially true for lithium-ion PCB and IMR batteries as it can be unsafe.
Summary
Battery corrosion may look intimidating, but with the right preparation, tools, and a step‑by‑step approach, you can restore most devices to full functionality. Remember to protect yourself, neutralize the residue with baking soda or vinegar, scrub gently, dry thoroughly, and apply a protective coating. Regular inspections and proper storage will keep future corrosion at bay, extending the life of both your batteries and the devices they power.
Frequently Asked Questions

Q: Can I use lemon juice instead of vinegar? A: Yes, lemon juice is acidic enough to neutralize alkaline corrosion, but it may leave a sticky residue. Rinse and dry well afterwards.
Q: Is it safe to use a metal screwdriver to scrape off corrosion? A: Avoid metal tools as they can damage terminals and cause sparks. Stick to plastic or wooden spatulas and soft brushes.
Q: How often should I clean my car battery terminals? A: A quick visual check every 3‑6 months is sufficient. If you notice a white crust, clean it immediately to prevent buildup.
Q: Will petroleum jelly attract dust? A: It can trap dust over time, but the trade‑off of corrosion protection usually outweighs minor dust accumulation. Wipe clean periodically.
Q: Can I use a dishwasher to clean battery compartments? A: No. The heat and water can damage electronics and spread corrosive residues.
By following these guidelines, you’ll keep your gadgets humming and your battery compartments pristine.