

Expert Guide to Choosing the Right Hiking Backpack
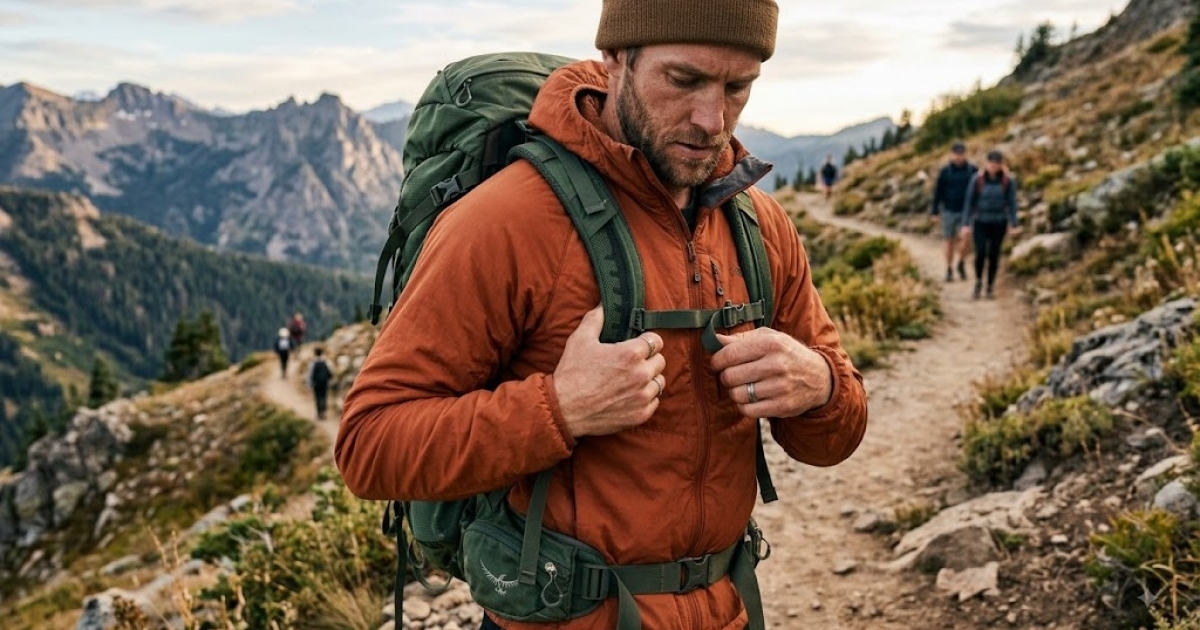
Before you start scrolling through endless product pages, take a moment to visualize the hikes you plan to tackle. Are you mostly hitting local trails for a few hours, or are you gearing up for a week‑long trek through backcountry terrain? Your answer will shape every other decision you make. Day hikers usually need only the essentials—water, snacks, a light jacket, and a map—so a compact pack that stays out of the way is ideal. Multi‑day backpackers, on the other hand, must accommodate a sleeping system, cooking gear, extra clothing, and enough food for several days. Even within those broad categories, climate matters: a wet, cold environment demands more layers and a waterproof cover, while a hot desert trek calls for breathable fabrics and easy water access. By clarifying the duration, climate, and technical demands of your typical outing, you create a clear checklist that prevents you from falling in love with a bag that simply isn’t built for your adventures.
Choosing the Right Capacity
Backpack capacity is measured in liters, and while the numbers seem straightforward, the sweet spot varies widely. Daypacks generally fall between 15 L and 30 L. If you usually carry a water bottle, a snack, a light rain jacket, and perhaps a camera, a 20‑L pack will feel nimble and keep your center of gravity low. Overnight packs range from 30 L to 50 L and are designed to hold a lightweight sleeping bag, a compact tent or tarp, a small stove, and a day’s worth of food. Anything under 30 L will likely force you to make hard choices about what to leave behind. Multi‑day packs start at 50 L and can go up to 80 L or more for extended expeditions that include bulky items like a four‑season tent or a large bear‑proof food container.
It’s tempting to think “bigger is better,” but an oversized pack encourages over‑packing, which translates directly into more weight and more fatigue. Conversely, a pack that’s too small can lead to cramped stuffing, causing items to shift and creating pressure points on your shoulders and hips. A practical rule of thumb is to add about 5 L of extra space for each additional night you plan to spend on the trail. If you’re unsure, many manufacturers list a recommended usage (day, weekend, thru‑hike) alongside the capacity—use that as a starting point and adjust based on your personal gear list.
The Critical Role of Fit
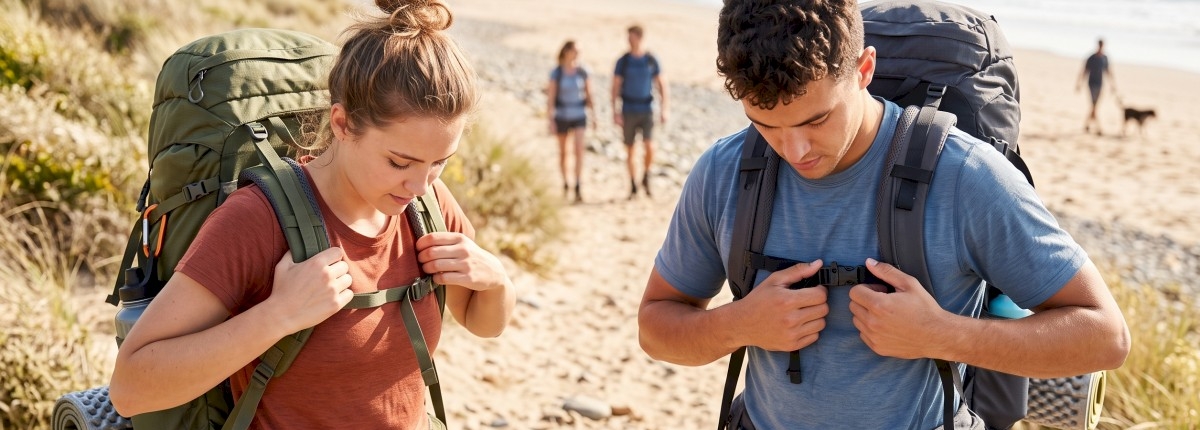
Even the most advanced backpack will become a liability if it doesn’t fit your body. The two most important measurements are torso length and hip circumference. Torso length is measured from the base of your neck (where the spine meets the skull) down to the top of your hip bones. Most modern packs offer multiple size options (short, medium, long) or an adjustable suspension system that can accommodate a range of lengths. Your hip belt should sit snugly on the top of your hips—this is where the majority of the load transfers from your shoulders to your pelvis, dramatically reducing shoulder fatigue.
When trying a pack, load it with about 10–15 lb of weight (a couple of water bottles or a sandbag work well) to simulate real‑world conditions. Walk around, climb a few stairs, and swing your arms. Pay attention to any digging or pinching on the shoulders, and make sure the hip belt doesn’t ride up when you bend forward. A well‑fitted pack will feel like an extension of your body; you’ll notice a balanced, stable feel rather than a pulling or sliding sensation. If you’re between sizes, err on the side of the larger torso length—most packs allow you to tighten the harness, but you can’t safely lengthen a too‑short frame.
Frame Types: Internal, External, or Frameless?
Internal Frame Packs
Internal frames dominate the market because they keep the load close to your spine, enhancing balance and maneuverability on uneven terrain. The frame is usually a semi‑rigid sheet of aluminum or a lightweight composite that’s sandwiched between layers of fabric. This design works well for most hikers, from weekend trekkers to thru‑hikers, and pairs nicely with a compression‑strap system that cinches the pack down for a sleek silhouette.
External Frame Packs
External frames were once the standard for heavy‑load backpacking. The frame sits outside the bag, creating a spacious interior and excellent ventilation—great for hot climates where a sweaty back can become uncomfortable. However, the external frame adds bulk and can be less aerodynamic on technical trails. It’s still a solid choice for gear‑intensive trips (expedition style, bike‑packing) where you need to haul a lot of equipment and don’t mind the extra profile.
Frameless (Sling) Packs
Frameless packs, often marketed as ultralight or minimalist, have no rigid structure at all. They rely entirely on the tension of the straps to hold the load. These packs are favored by hikers who practice strict weight‑saving measures and carry gear that is already compact and well‑organized. The downside is reduced load‑carrying efficiency; you must be meticulous about packing to avoid shifting weight that can cause imbalance.
Choosing the right frame depends on three factors: load weight, trail difficulty, and personal comfort preference. If you carry under 30 lb on technical terrain, an internal frame will likely be your best bet. For loads exceeding 40 lb in a hot environment, an external frame may keep you cooler. If you’re chasing sub‑20‑lb totals and have a streamlined gear list, a frameless pack could be the perfect match.
Material, Durability, and Weather Resistance
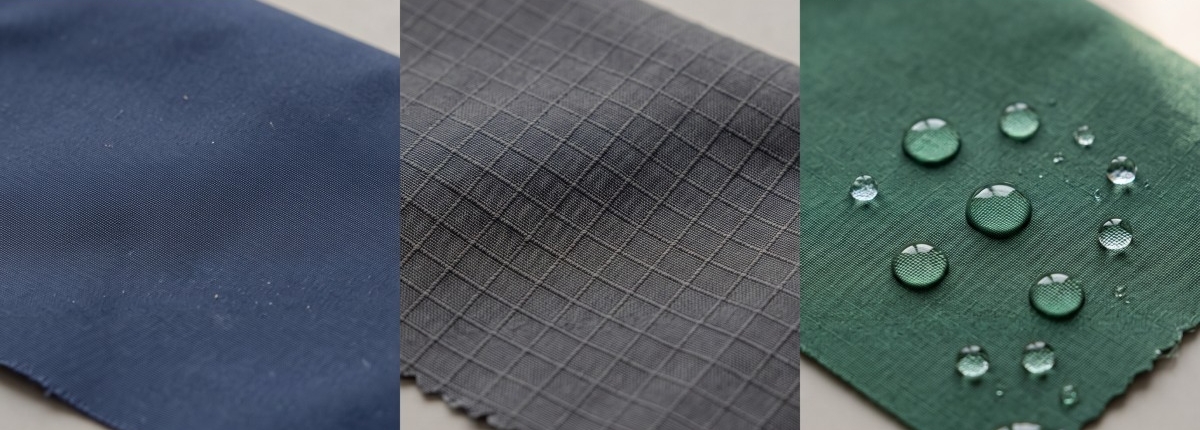
The fabric of a backpack influences weight, durability, and how well it stands up to the elements. Most high‑quality packs use nylon because it offers a good balance of strength‑to‑weight ratio and water resistance. Ripstop nylon, woven with a crosshatch pattern, resists tearing—a vital feature when you brush against sharp branches or abrasive rock.
Denier is the unit that measures fabric thickness; common values are 600‑D, 900‑D, and 1000‑D. A 600‑D pack is lightweight and ideal for fast‑packing, but it may show wear sooner. A 1000‑D pack is tougher, perfect for rugged, multi‑day trips, but it adds a few grams per square meter. Some brands treat the outer shell with a DWR (Durable Water Repellent) coating, which causes water to bead and roll off. While DWR isn’t a substitute for a full waterproof rain cover, it does keep light rain from soaking your gear.
If you hike in extreme conditions—heavy snow, sub‑zero temperatures, or constant rain—consider a pack with a built‑in rainfly or purchase a separate pack rain cover. For occasional hikers in mild climates, a standard DWR‑treated nylon will suffice and keep the pack light.
Storage, Organization, and Accessibility
A well‑organized pack saves time and reduces frustration on the trail. Top‑loading designs are simple: you open a large main compartment, dump in your gear, and close it. This style offers excellent protection against the elements but can be cumbersome when you need something from the bottom of the pack.
Panel‑loading packs feature a front opening, similar to a suitcase, allowing you to see and reach items without fully unpacking. Many hikers prefer this for its convenience, especially when accessing items like a first‑aid kit or a quick snack.
Additional pockets and attachment points enhance functionality:
- Hydration sleeve: A dedicated compartment that fits a 2‑L or 3‑L reservoir, often with a zip‑off port for the drinking tube.
- Side mesh pockets: Ideal for water bottles or a quick‑grab trail map.
- Front zippered pocket: Perfect for headlamps, sunscreen, or a multi‑tool.
- Gear loops and daisy chains: Useful for attaching trekking poles, ice axes, or a sleeping pad.
While it’s tempting to chase every possible pocket, each one adds weight and can create weak points in the fabric. Choose a layout that mirrors how you pack: if you use a modular system (e.g., dry bags for clothing, separate pouch for electronics), a simpler interior with a few external loops may be all you need.
Comfort Features That Make a Difference
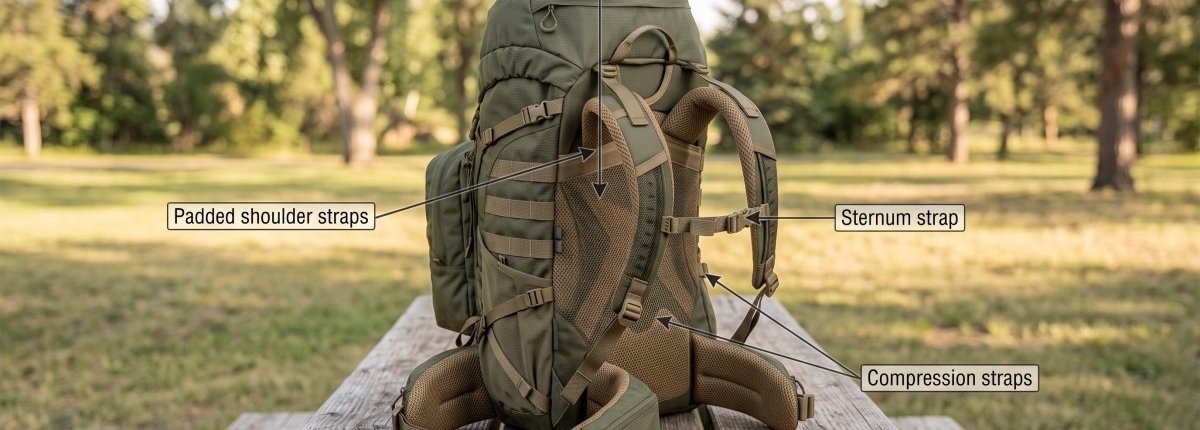
Beyond fit, several design elements contribute to day‑long comfort:
- Ventilated back panel: Mesh or “spine” designs allow air to flow between your back and the pack, reducing sweat buildup on hot days.
- Padded shoulder straps and hip belt: Look for high‑density foam or even removable padding for custom cushioning.
- Load lifters: Small straps near the shoulder straps that pull the pack closer to your body, improving posture.
- Sternum strap: Connects the shoulder straps across your chest, stabilizing the load and preventing shoulder slippage on steep ascents.
- Compression straps: Tighten the sides and bottom of the pack, keeping gear from shifting and reducing the overall profile.
Even subtle features like quick‑release buckles, a MOLLE system or elastic webbing on strap adjusters can add convenience and save minutes when needed. Take the time to research these elements; a small comfort upgrade can prevent sore shoulders after a long day.
Weight Considerations and Packing Strategy
Every gram matters when you’re covering 20‑plus miles a day. While it’s easy to focus on the backpack’s own weight, the real opportunity for savings lies in what you pack. Start with a gear list and categorize items by necessity: essential, optional, and replace‑if‑lost. For each category, look for lighter alternatives (e.g., a titanium stove versus aluminum, a down sleeping bag versus synthetic).
When you’ve trimmed your gear, choose a pack that matches the reduced weight. A 35‑L internal‑frame pack that weighs 1.8 lb may feel more comfortable than a 45‑L backpack that adds an extra half‑pound of material you’ll never fill. Remember that a slightly heavier, more supportive pack can feel lighter on your shoulders because it distributes weight more efficiently. Test the pack with your intended load before committing to a purchase.
Trying Before Buying and Final Decision Tips
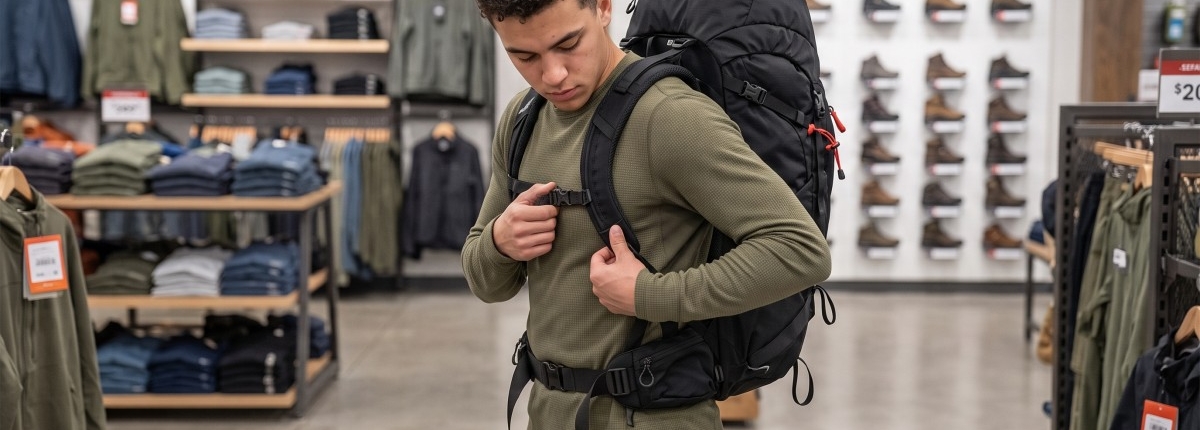
If possible, visit a specialty outdoor retailer where knowledgeable staff can guide you through the fitting process. Bring a weight bag or fill the pack with your gear to simulate real conditions. Adjust the shoulder straps, load lifters, and hip belt, then walk up a short incline or simulate a climb. Pay attention to:
- Pressure points on shoulders, back, and hips.
- Pack stability – does it sway or shift when you move?
- Ease of access – can you reach your hydration tube or pockets without fully removing the pack?
- Overall feel – does the pack feel like an extension of your body or a separate, cumbersome object?
Take notes and compare at least two models before making a final decision. Online reviews are useful, but personal fit is irreplaceable. If you’re buying online, ensure there’s a generous return policy so you can test the pack on a short hike and still send it back if it doesn’t work.
Maintenance and Longevity
A well‑cared backpack can last many years. After each hike, air‑dry the pack completely before storing it; moisture trapped in seams can lead to mildew. Spot‑clean any dirt with a mild soap and a soft brush—avoid submerging the pack unless it’s rated as fully waterproof. Reapply a DWR spray annually if the water‑repellent coating wears off. Inspect stitching and zippers regularly; a small broken seam can become a major failure point under load.
If you notice a strap pulling away or a seam opening, most manufacturers offer repair services or you can reinforce it with a strong nylon thread and a heavy‑duty needle. Small proactive fixes keep the pack performing at its best and save you money in the long run.
Conclusion: Your Pack, Your Partner
Choosing the right hiking backpack is a blend of science and personal preference. By understanding your hiking goals, selecting the proper capacity, ensuring a perfect fit, and weighing frame types, material durability, and comfort features, you’ll find a pack that feels like a natural extension of your body. The right pack not only carries your gear—it enhances your confidence, reduces fatigue, and lets you focus on the scenery rather than the strain on your shoulders.
Take the time to test, compare, and fine‑tune your choice. With the right backpack at your side, every trail becomes an invitation to explore further, stay safer, and enjoy the journey with comfort and freedom.